
The photos below are what we
saw.

Our heavy use of the camper
had caused some of the woodwork to come apart. The
reason? The builder used staples but no glue. So,
with a bit of use and many miles of washboarded road, things
self-destruct. Our plan was to use the board as a lever to
pull the parts together while the glue sets. To do that,
we had to drill through the panels and then use wood screws. The
edge of the deck provided the fulcrum and cargo bags provided
the needed weight.

Both sides of the deck
needed help, so we decided to do them at the same time as
opposed to waiting for one side to set up before doing the
other.

While Kathleen attacked the
deck rework, I attacked a tire rotation. All four wheel
drive vehicles will cup the tires; it is a consequence of the
geometry of the front axle. The only way to reduce the
cupping is to rotate the tires frequently. We last rotated
the tires when we were at Bob Ragain's farm in Tennessee, but
since then the front tires have worn down to the wear
bars. At the top left of the photo above the wear is
visible.

A tire rotation is not
really hard to do if you have the correct tools. On Thor,
you have to have a dog bone wrench to be able to reach into the
cup of the wheel to access the lug nuts. The dog bone has
to be accompanied by a forged bar to turn it. And, if you
are taking the lug nuts off, you will typically need a cheater
bar as well. An impact wrench will speed the process, but
most air wrenches lack sufficient torque to loosen the lug nuts;
you have to get them started manually with the dog bone and then
the impact wrench can complete the process. Finally, to do
a rotation in any sane manner, you need two jacks or a jack and
a beefy jack stand. And, just in case you are not
Superman, you will need a method to lift the tire onto the
lugs. We use a spade-end shovel as a pry device because
the spoon has a built-in fulcrum and the spoon will still
operate on soft soil or sand. Since we were in Brad's
driveway that became a moot point.

Usually when we rotate the
tires we also do a careful inspection of the tire. We
found a large sharp chip of flint embedded in the tread so we
pulled it out. There were also a number of pretty large
cracks in the rubber. I do not know if these cracks were
the result of aging of the tire (they could have been NOS - new,
old stock) or if it has been due to abuse on my part. Some
of these cracks are visible on the side of the tire lugs in the
photo above.

Thor is old school and has
drum brakes all around. 10 studs per wheel and they must
be tight. The wheel centers on the flanges cast into the
drum. Note that we use the stackable RV leveling blocks as
the jack base. These usually work pretty good unless the
ground is really soft in which case the weight of the truck just
deforms the blocks. But under most circumstances, these
are very handy items to have around. Plus, you can drive
onto them to level the rig for sleeping.

While Kathleen and I were
doing service actions, Brad did some actions of his own on his
daughter's car. We went to dinner at Ken and Sue's in
downtown Durango and it was great. Next day, we decided to
go 'wheeling in the San Juan mountains. Since all of us
will fit in the DOKA, Thor was left sulking in the driveway for
the day. Note the beautiful red cliffs just to the west of
their home.

We headed north on US-550
and then took a side road. We got nice views of the cliffs
along the Animas River valley. Note the bicyclist on the
road; there were many of them out cruising on their bikes.

Just a bit further north the
cliffs became higher and more pronounced.

We pulled into a fuel stop
and noticed these jeepers in the back corner of the
station. Note the offset on this home-made "hitch
haul". This setup puts massive torque on the rear bumper
hitch. When I looked more closely at the setup, I noticed
that the jeep actually does not even have a hitch but rather the
hitch haul is just bolted to the rear bumper. I doubt that
this will last very long. But, no matter, as it is not MY
jeep.

The mog was the "belle of
the ball" at the fuel stop. Mogs always turn heads.

Further north, we got our
first view of Engineer Peak close to US-550.

We went to the Purgatory ski
area and took a road that went through the area and back into
the mountains to the west of the area. We went past the
ski area on Hermosa Park Road and then up the pass. Near
the top we came to the remains of the Graysill Mine. The
mine was seeking Vandium, but they also found Uranium as
well. This log cabin is all that remains standing of the
mine.

The harsh winter snows
reduced the other out buildings to rubble.

Brad stands next to one of
the collapsed structures.

We continued up the road to
the 11,000+ foot pass and were treated to a short break in the
overcast. Note the colors in the distant cliffs.

To the northwest, we could
see Lizard Head Rock on the far skyline.
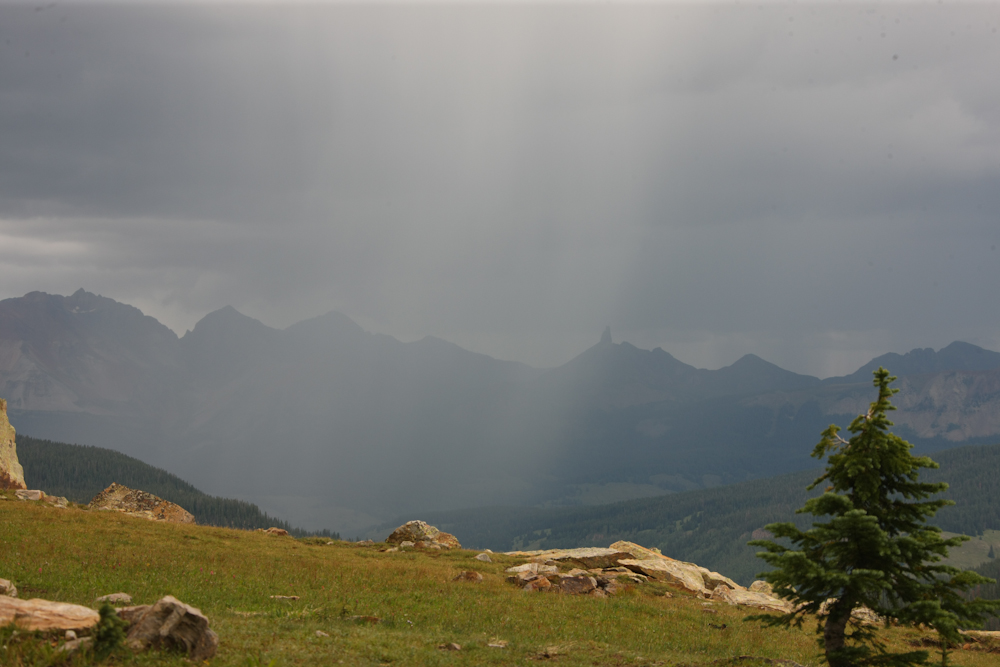
Heavy rains were sweeping
through the valley periodically obscuring our view. The
rain never did reach us but it was visible for most of the day.
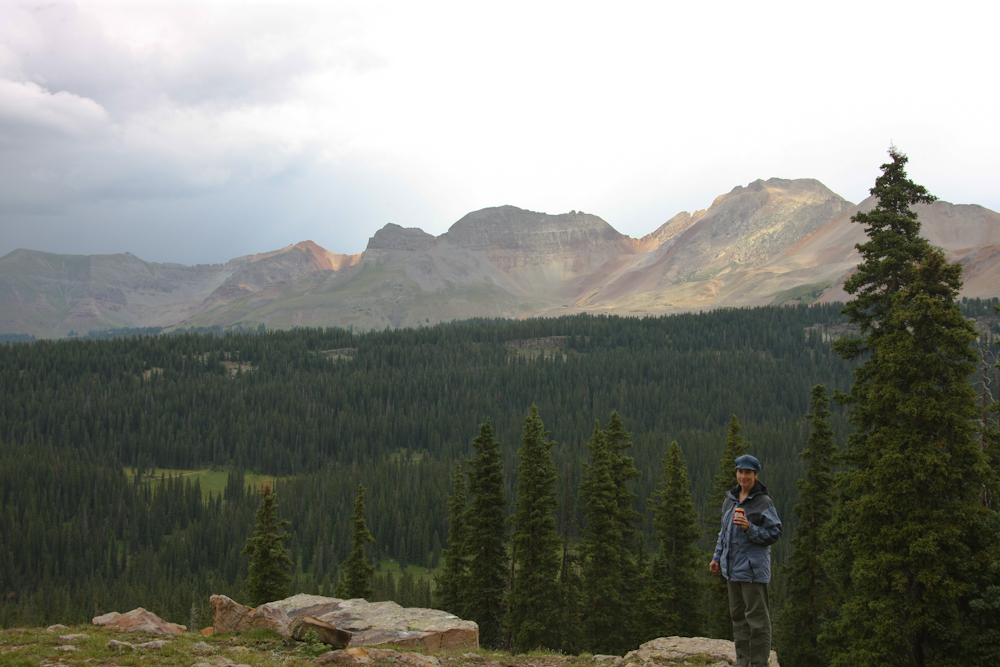
Another brief interval of
sun revealed Kathleen enjoying the view.
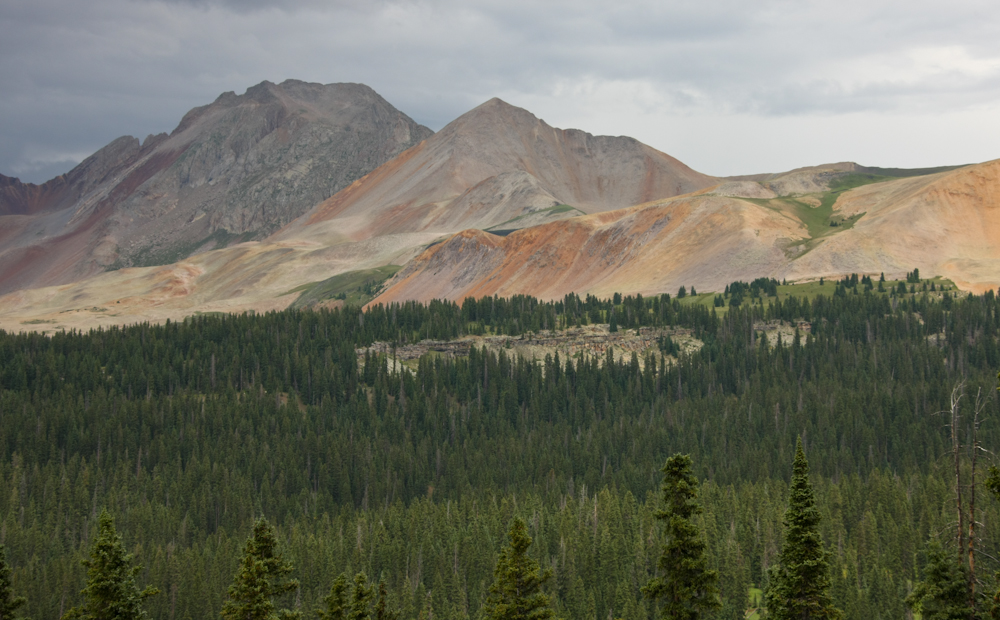
The distant ridges were
above timberline and the vegetation-free terrain revealed subtle
colors in the rock.
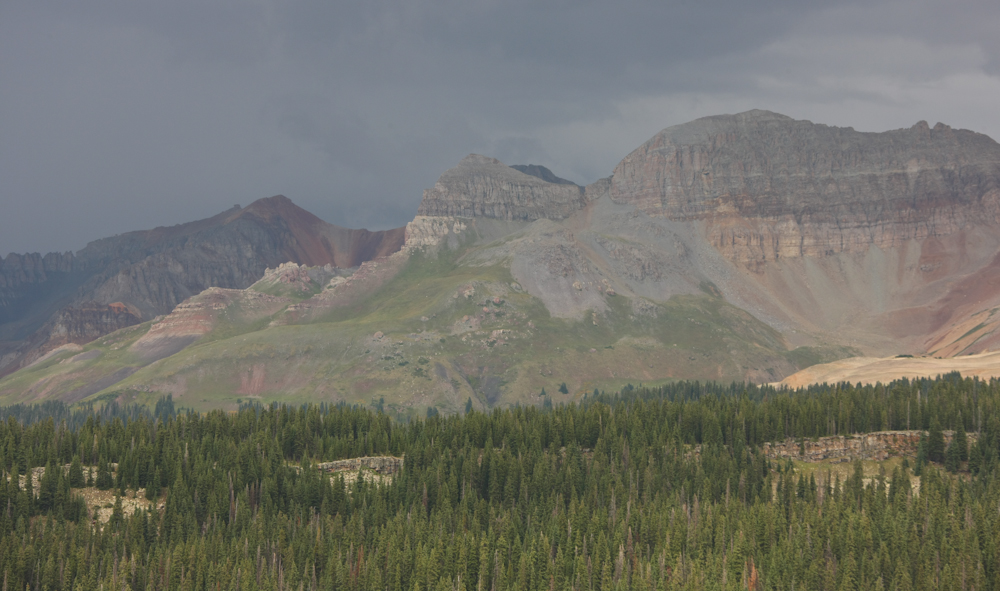
These large cliffs show
clear evidence of glaciation.
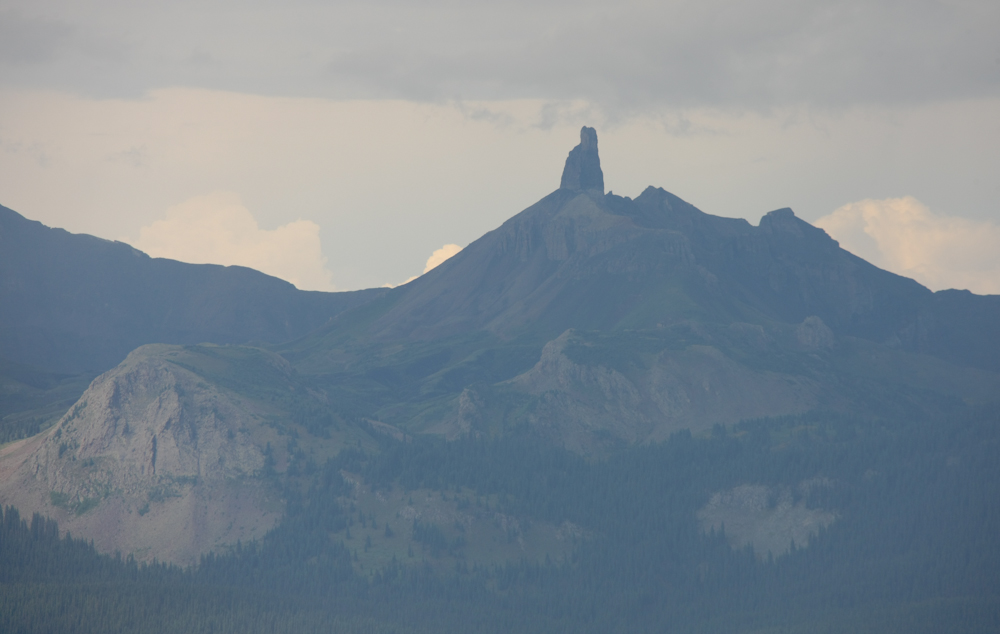
Lizard Head Rock is close to
Telluride and is an imposing structure.
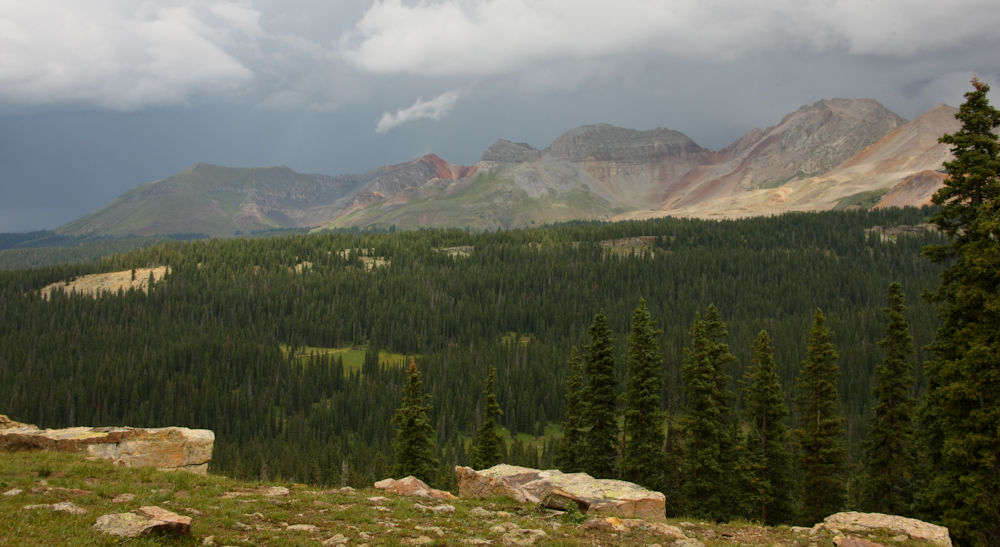
One parting shot of the
range to the north of our position. After lunch, we headed
back down the trail to the east. The trail does cross the
entire mountain into Rico, CO but if we did that we would have
faced several hours of highway work to get back to Durango.
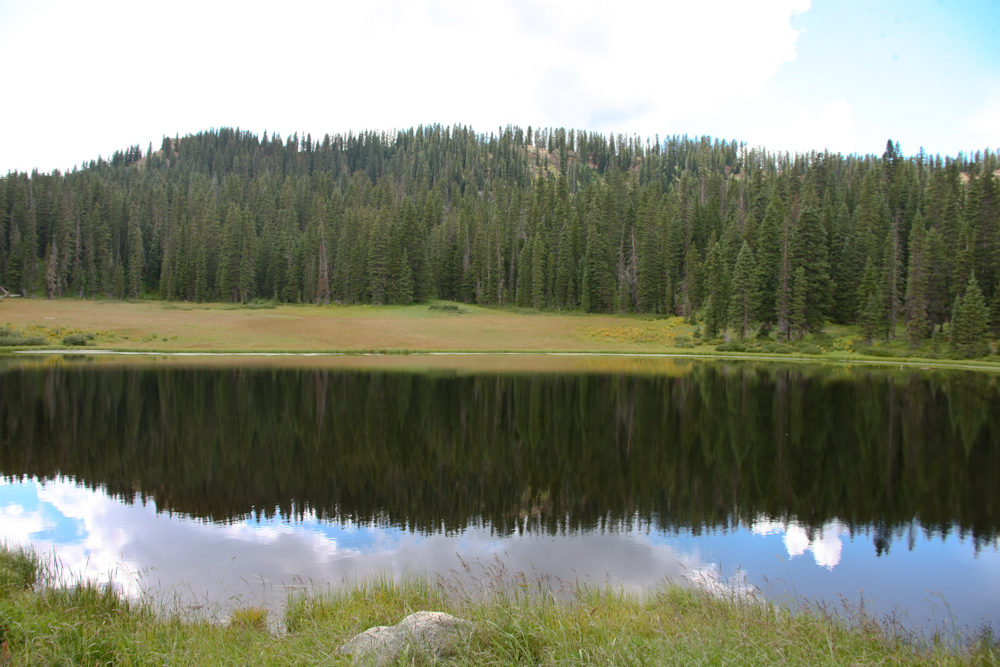

The trail passed through the
Purgatory ski area and at one of our stops searching for
raspberries we saw the map of the ski area on a sign.
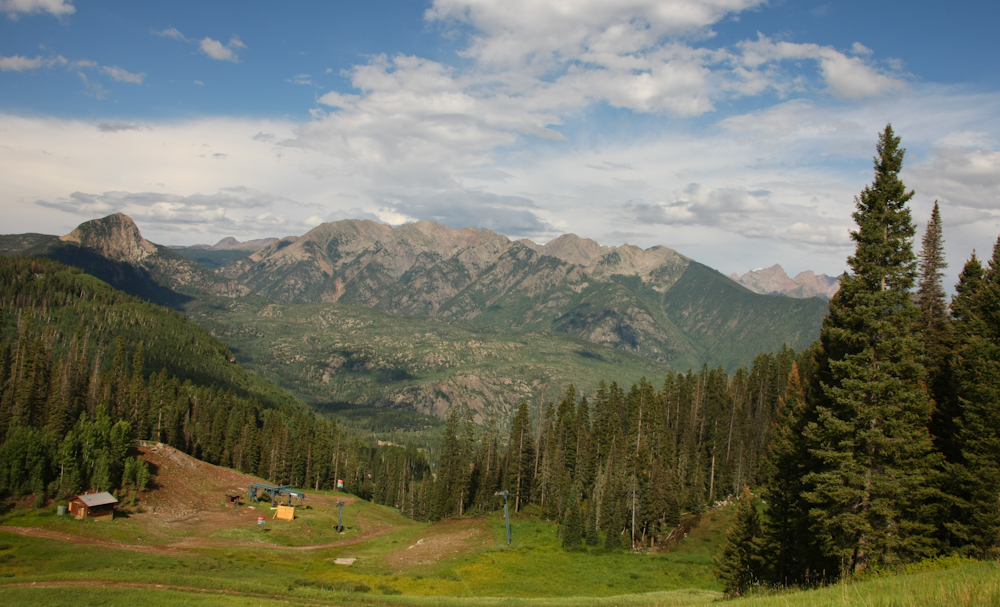
While at the ski area we got
a clear, bright view of the peaks to the east. Note the
ski lift below.
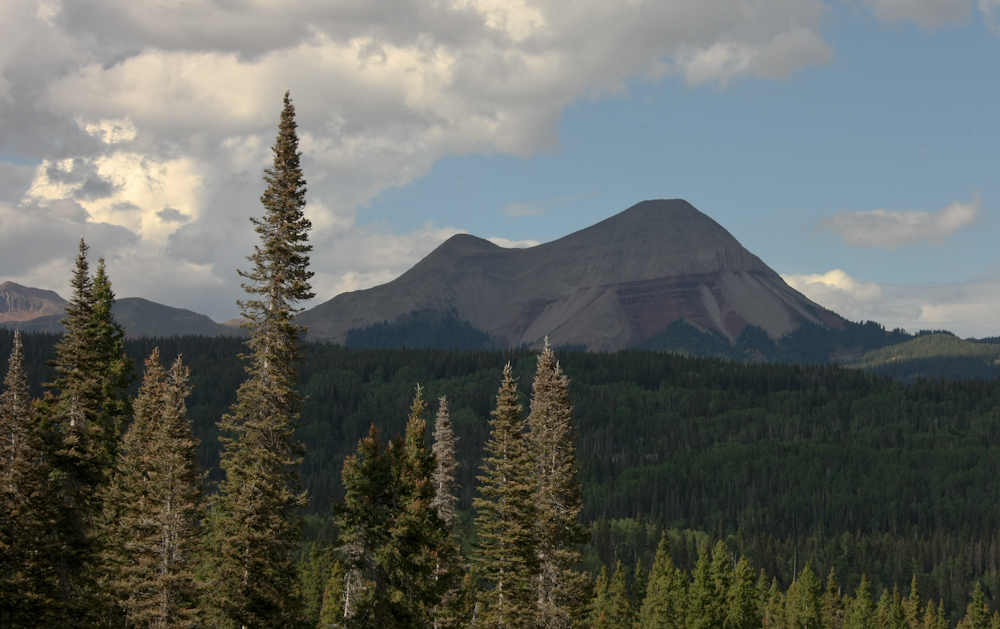
Engineer Peak was visible to
the north.
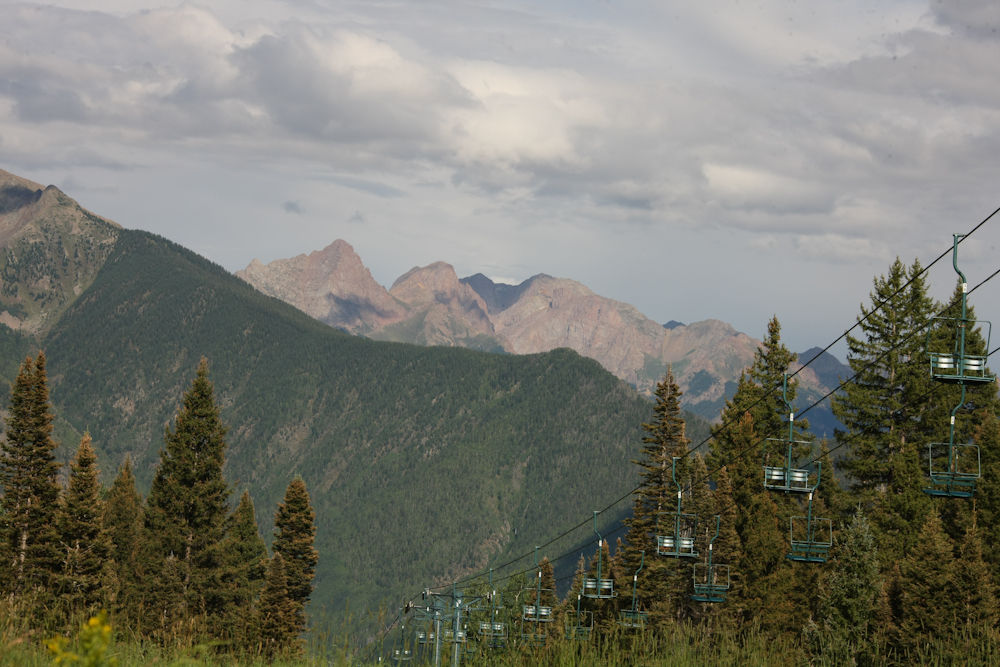
One of the ski lifts came up
the side of the mountain to our overlook.
| Previous Adventure | ||
Photos and Text
Copyright Bill Caid 2012, all rights reserved.
For your enjoyment only, not for commercial use.