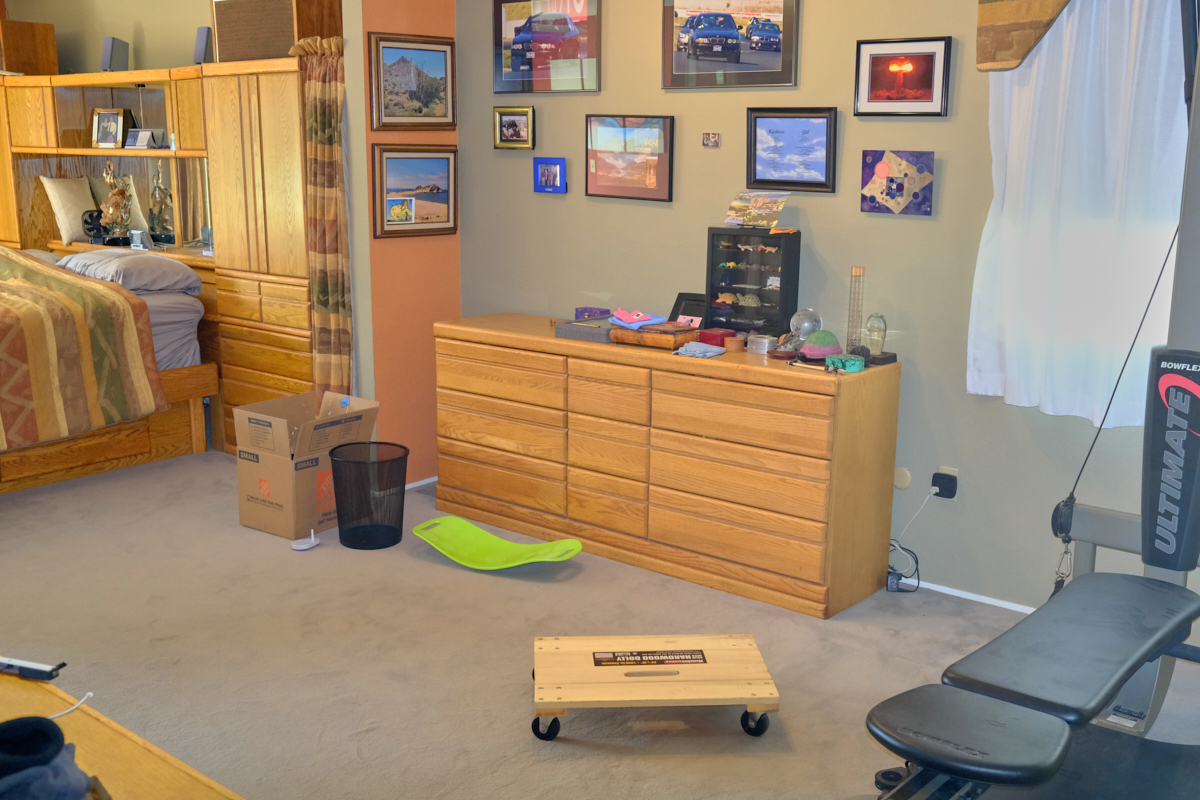
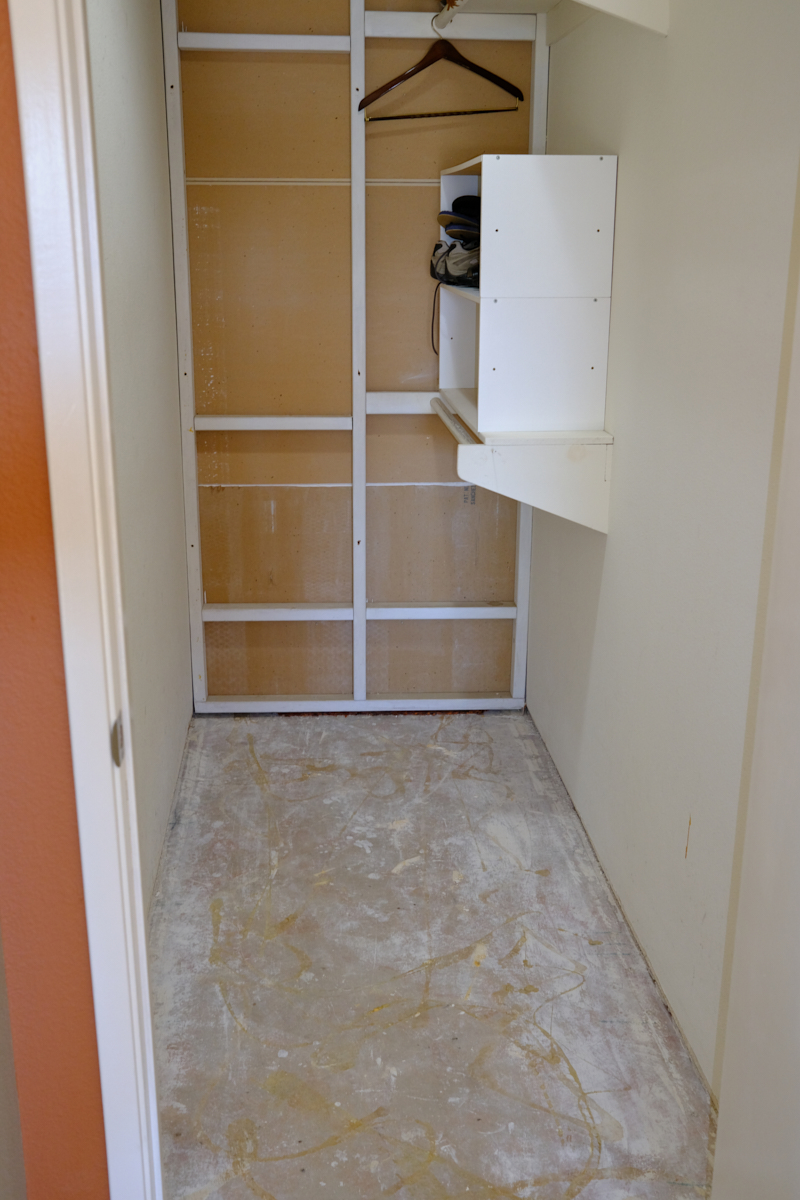
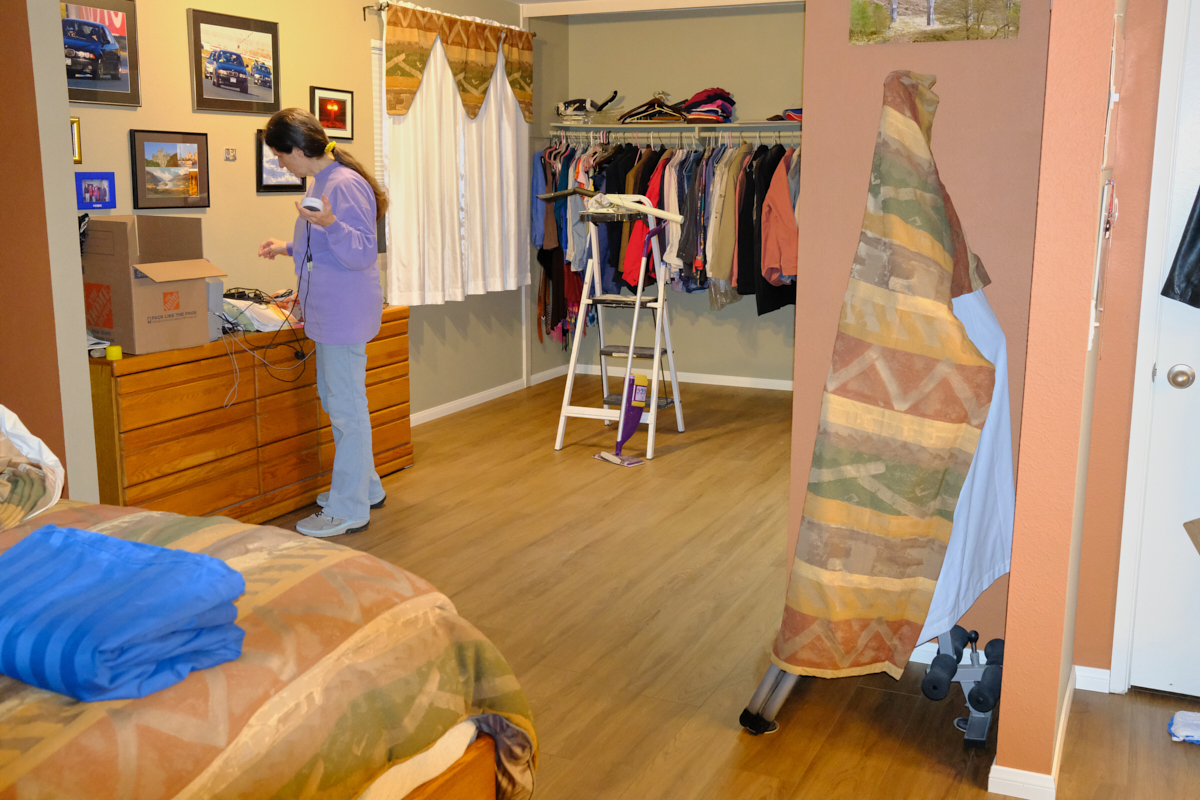
The photos below are what we saw.
The
"before" photo taken after some of the items were move to other
rooms.
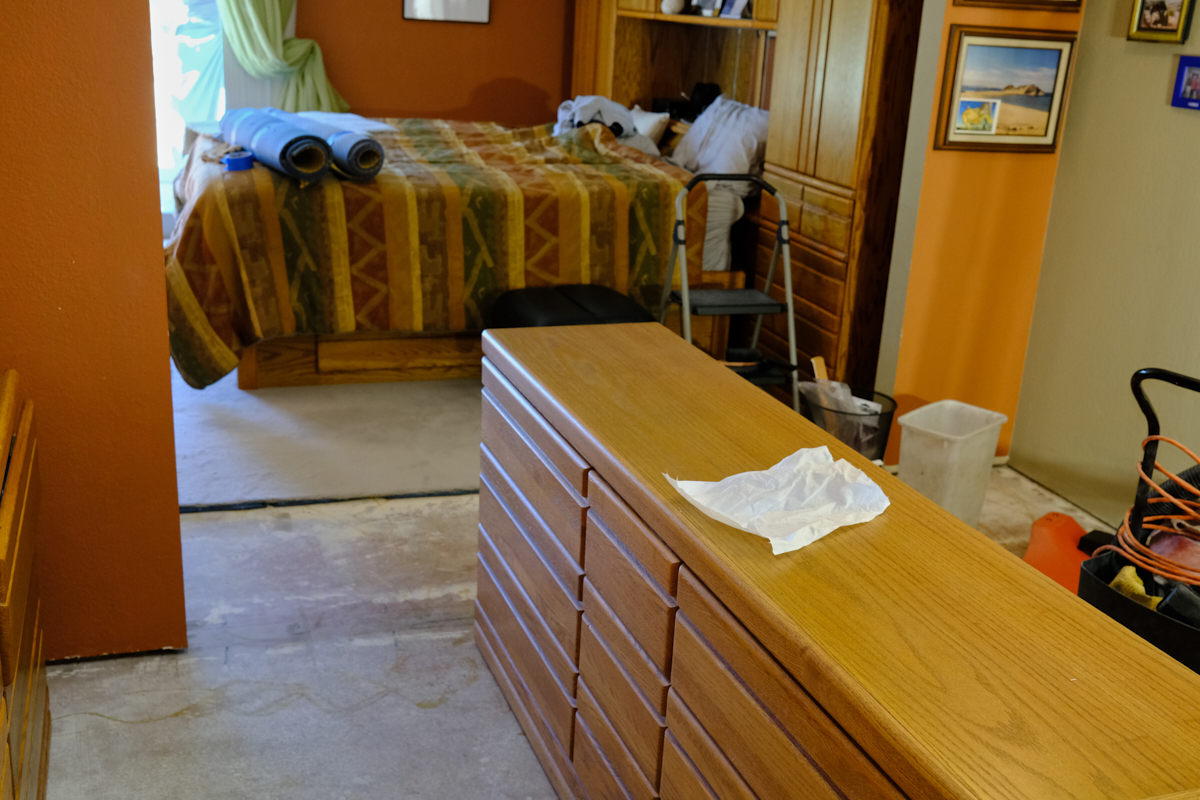
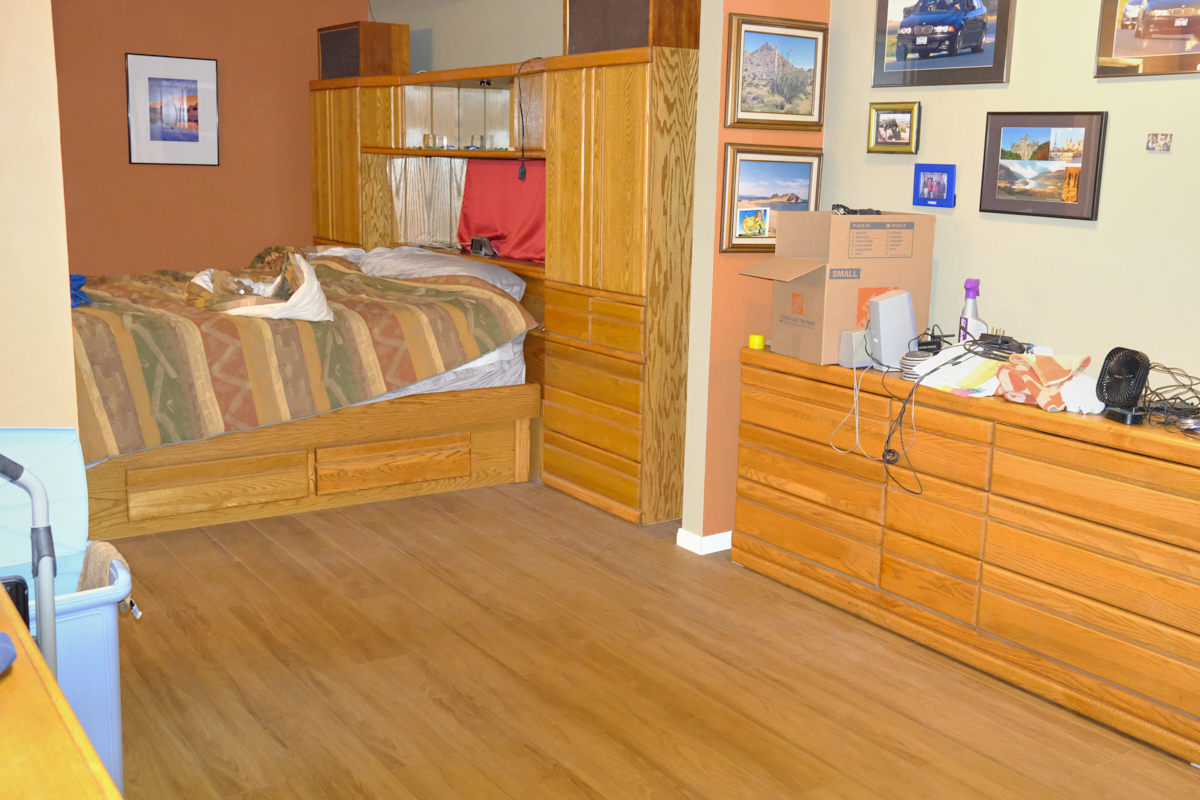
The
horizontal chest of drawers were heavy and awkward and required
removal of all the drawers to move them. They were moved
to an area just to the left of the photo above. The
Bowflex was moved outside and the balance of the items were
placed in boxes and moved to another room for short term
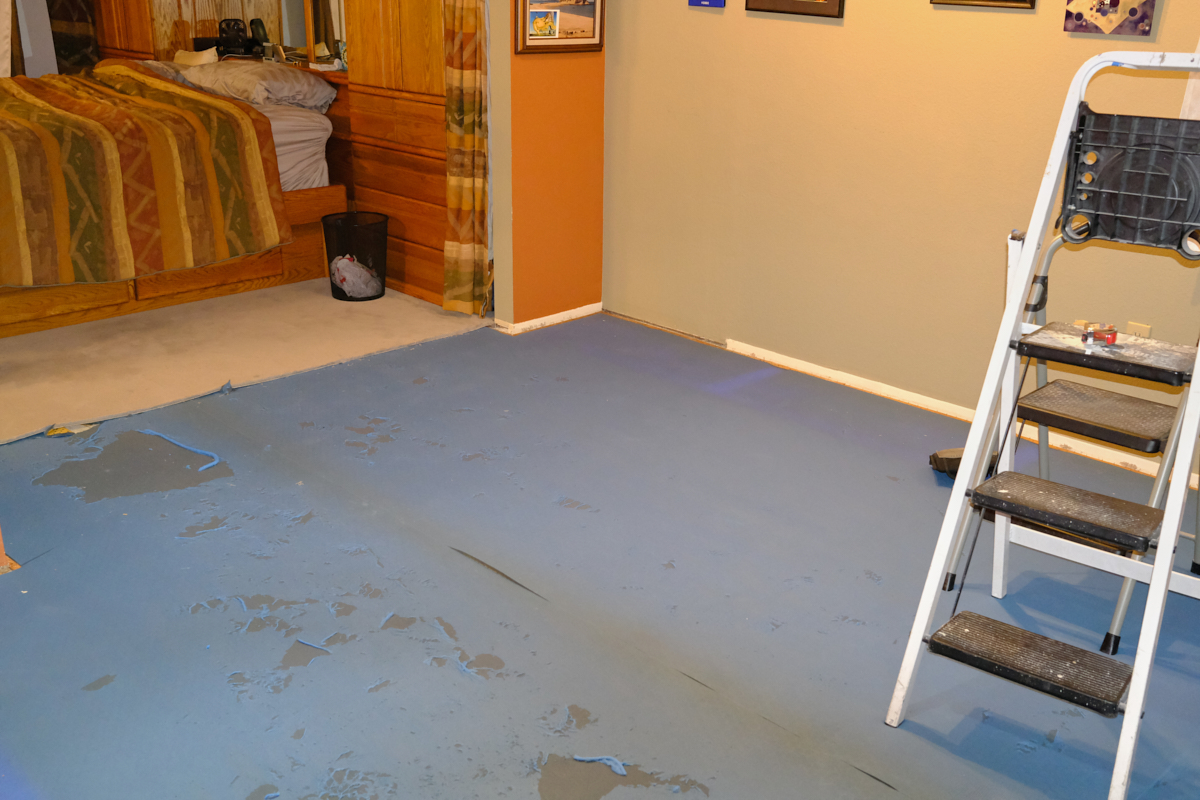
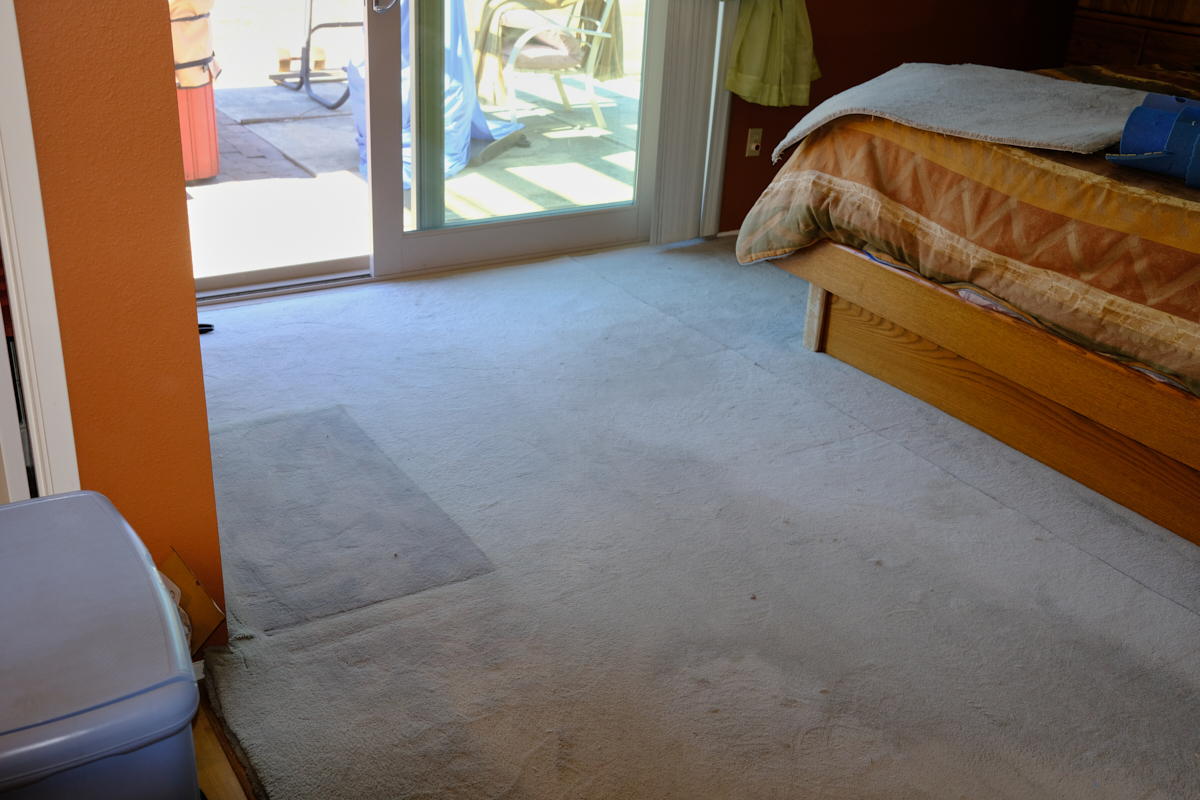
storage. The carpet was pulled from the tack strips,
rolled up and moved outside. The intense wear on the blue
carpet padding was from walking on it after the carpet was
removed.
Kathleen
cut the padding at the junction between the rooms. The
previous owner had removed a wall to make a huge master bedroom.
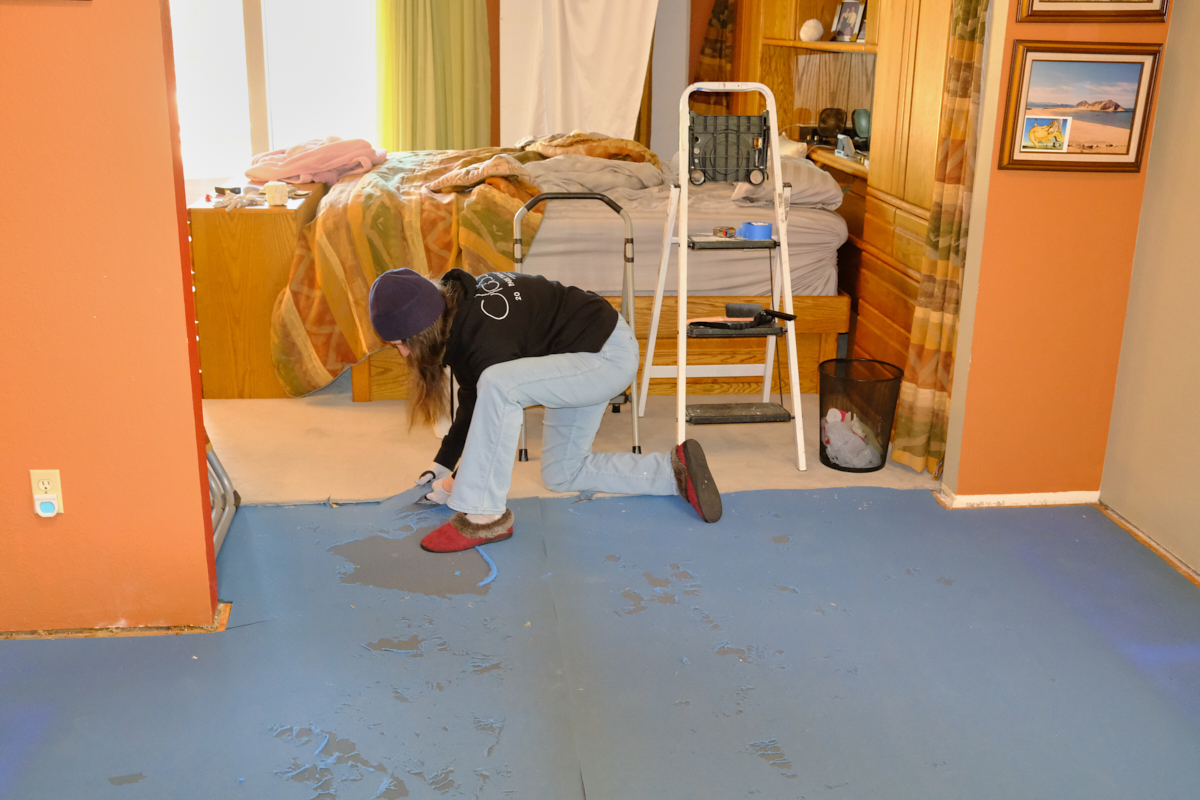
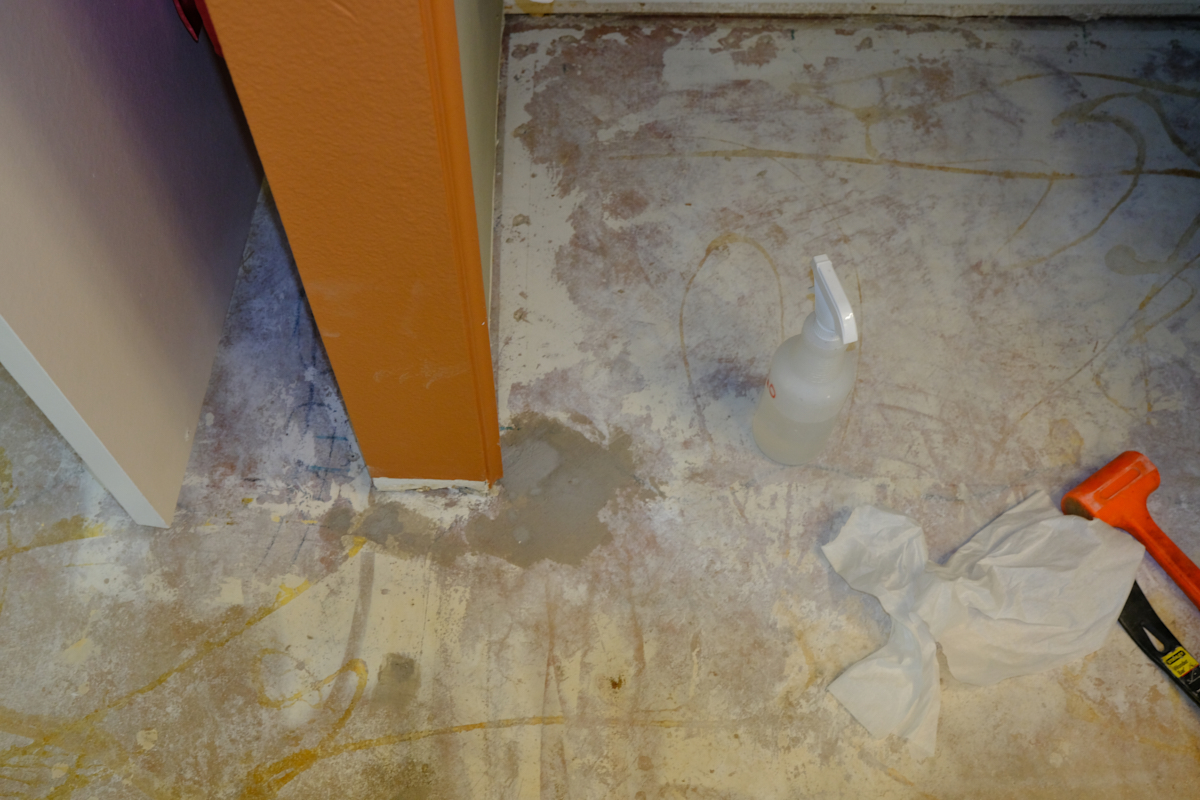
We did
discover some cracks in the slab when the padding was
removed. No way to tell the age of these cracks, but we
will fill them with concrete patch and proceed with the
installation of the tile.
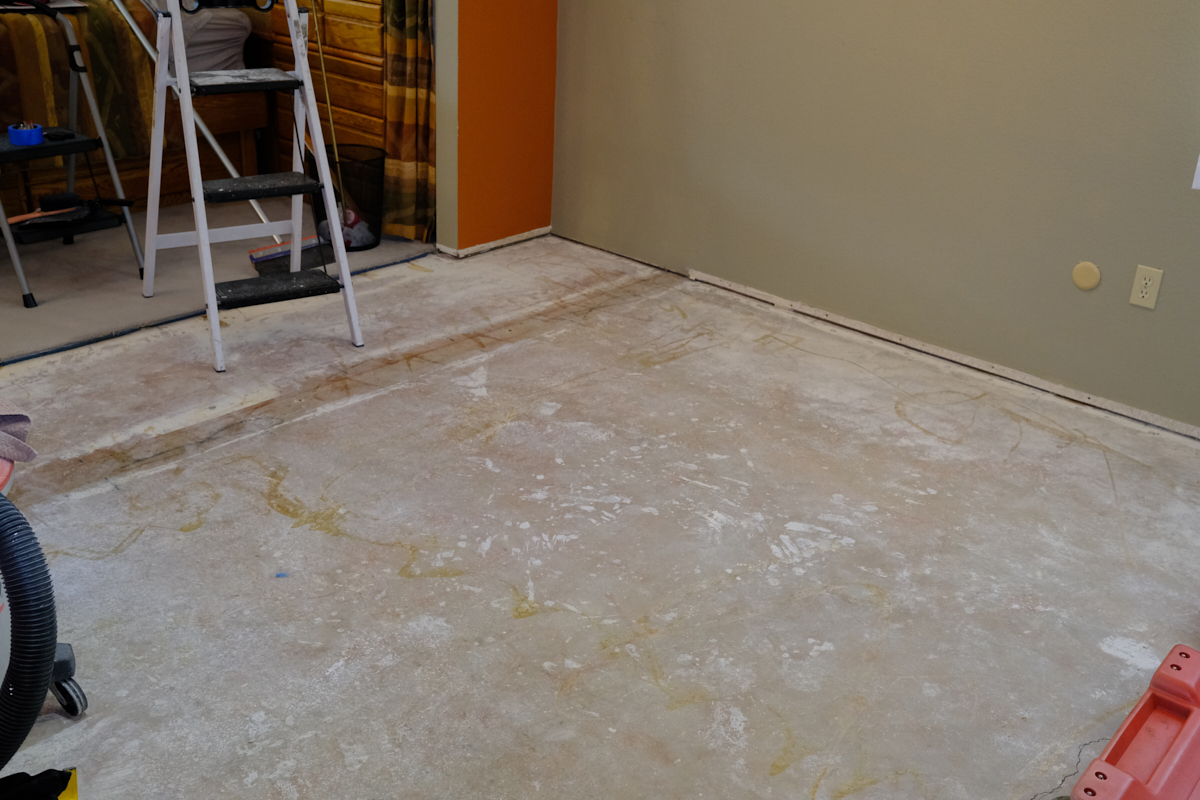
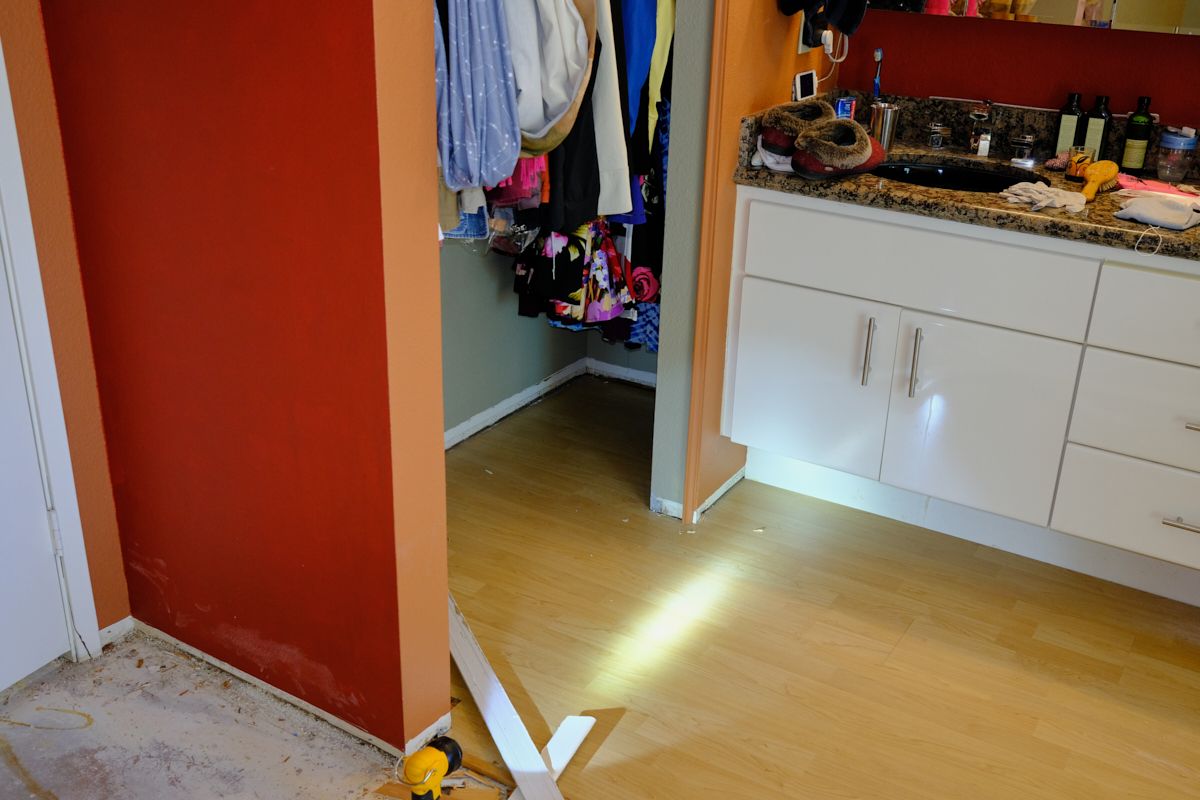
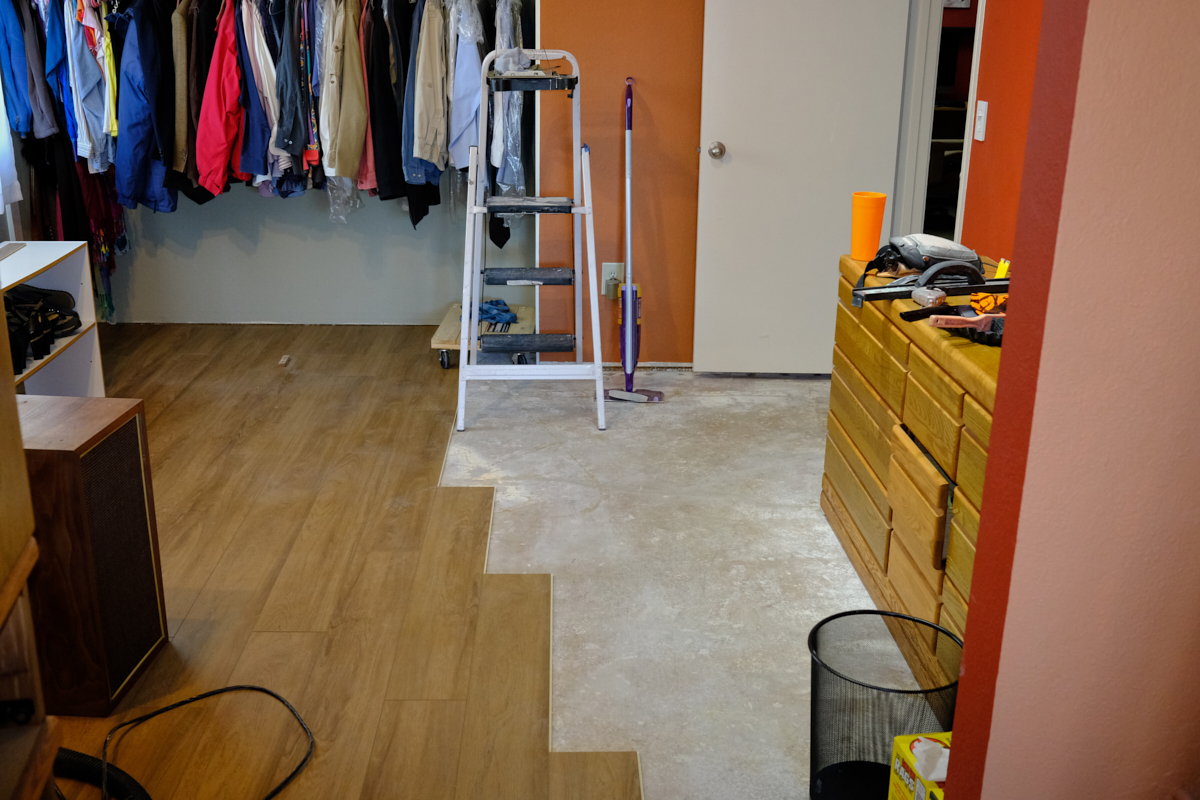
Old
baseboard and carpet tack strips were removed. The old
wall location is clearly visible on the floor.
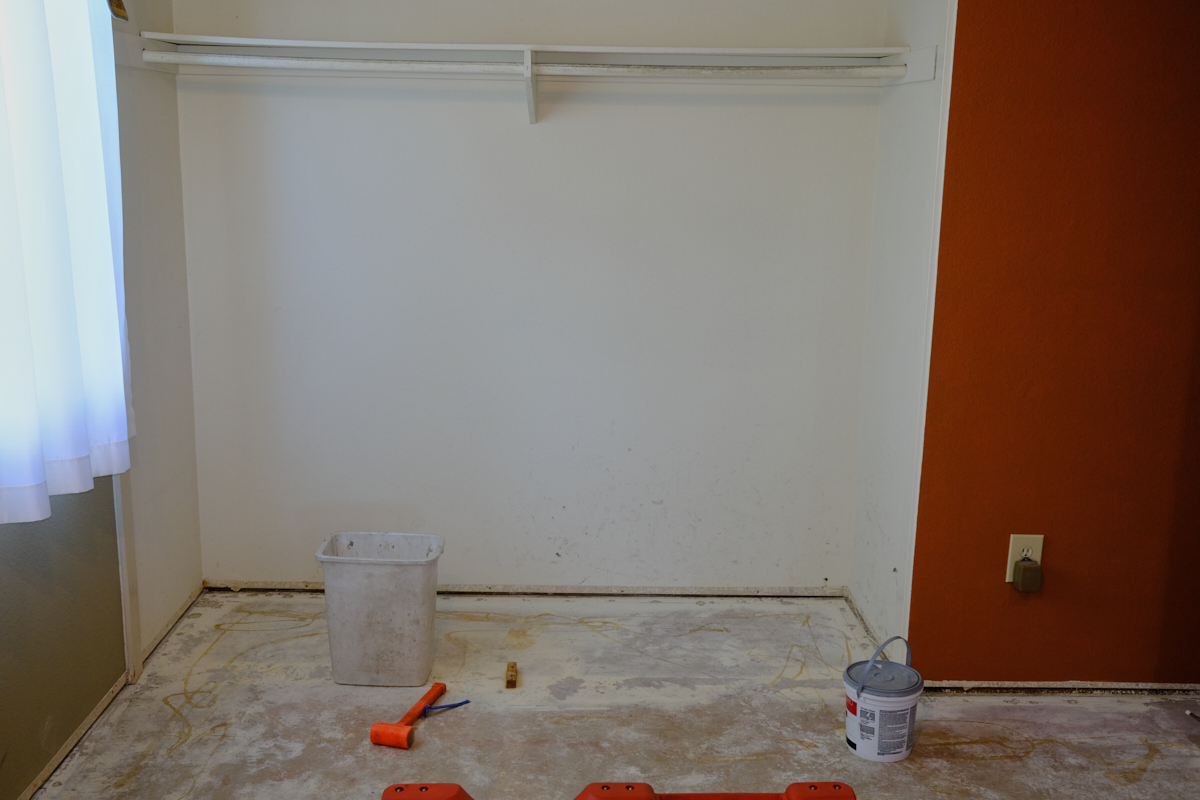
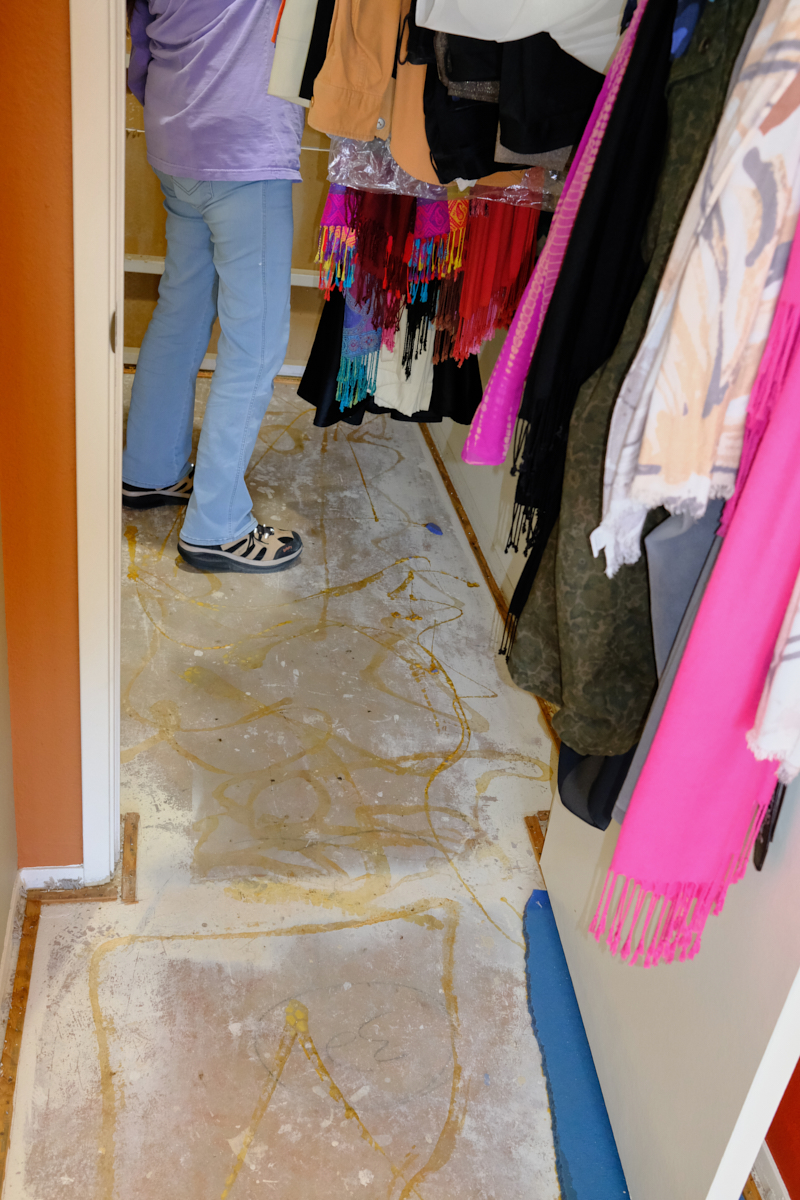
The
sliding doors of the closet were removed and stored in another
room. The contents of the closet were moved allowing
access to remove baseboard, tack strips and make painting
possible.

Our hard
work was rewarded with a nice sunset with subtle colors.
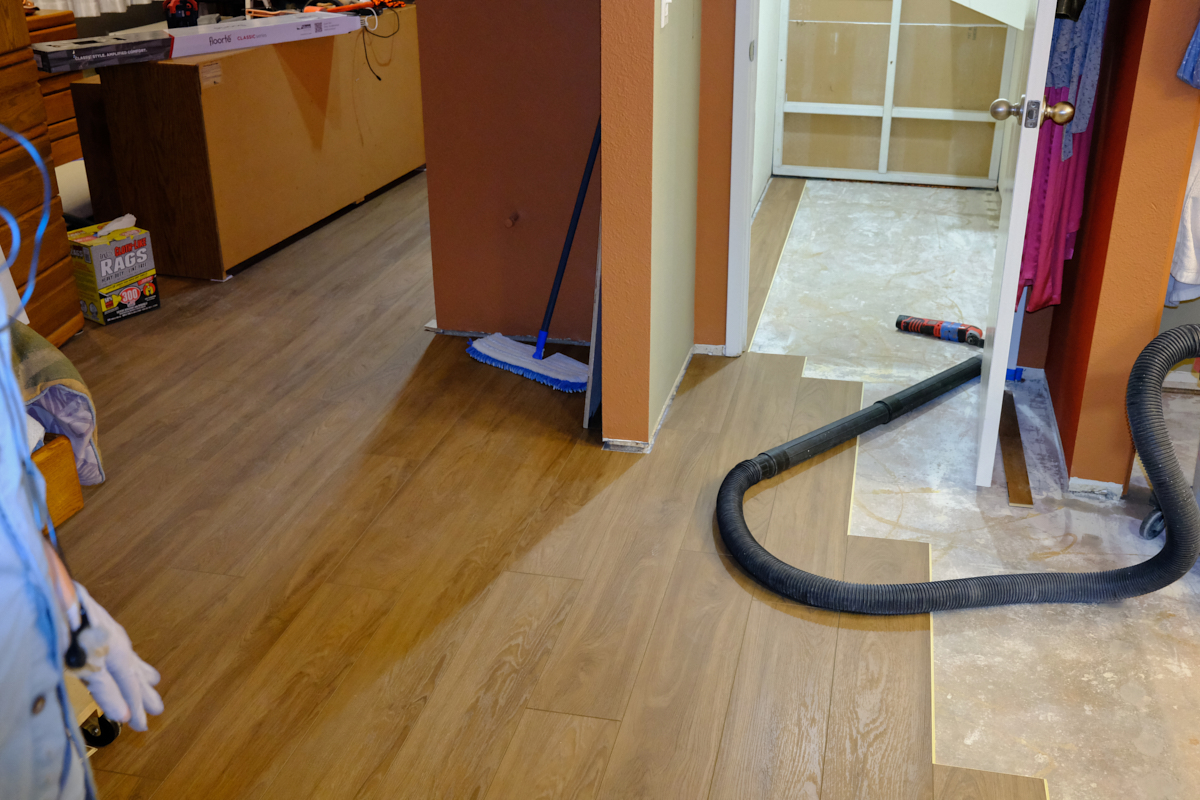
After
the workout room floor was scraped and the closet painted, the
horizontal chests were moved back into the room to allow access
to the bedroom floor.
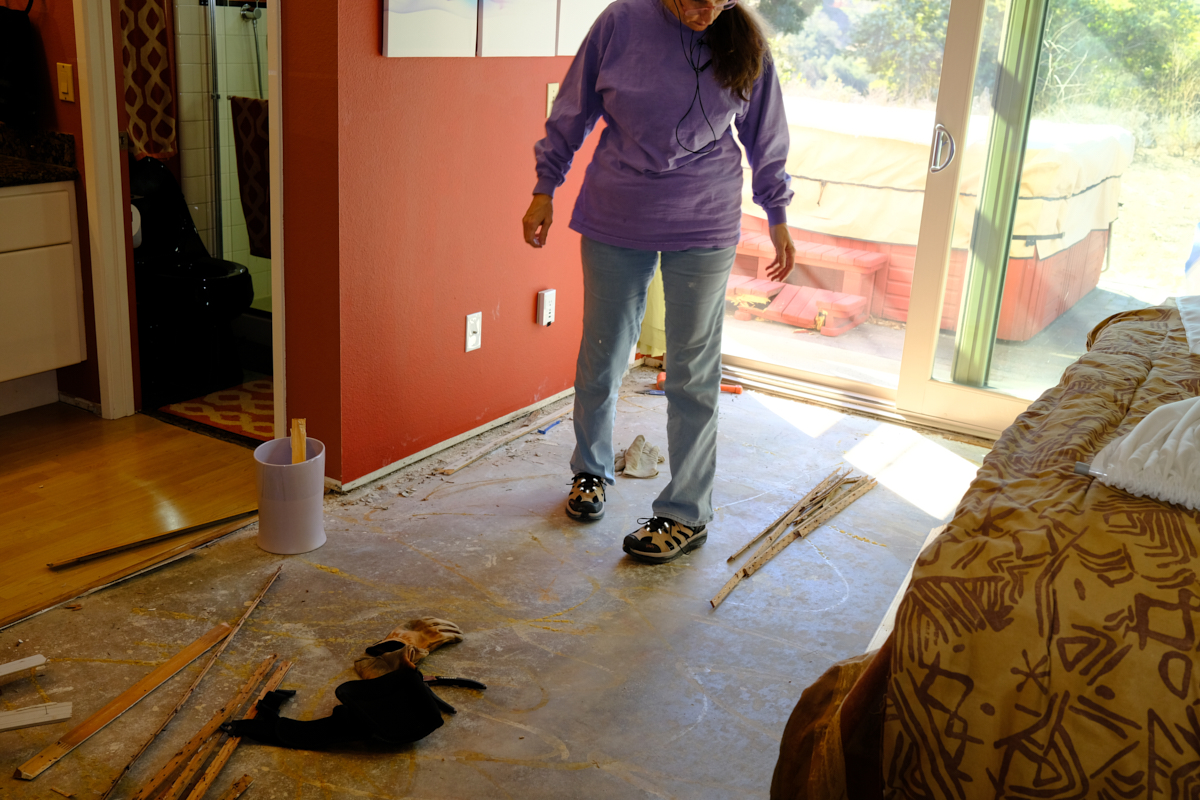
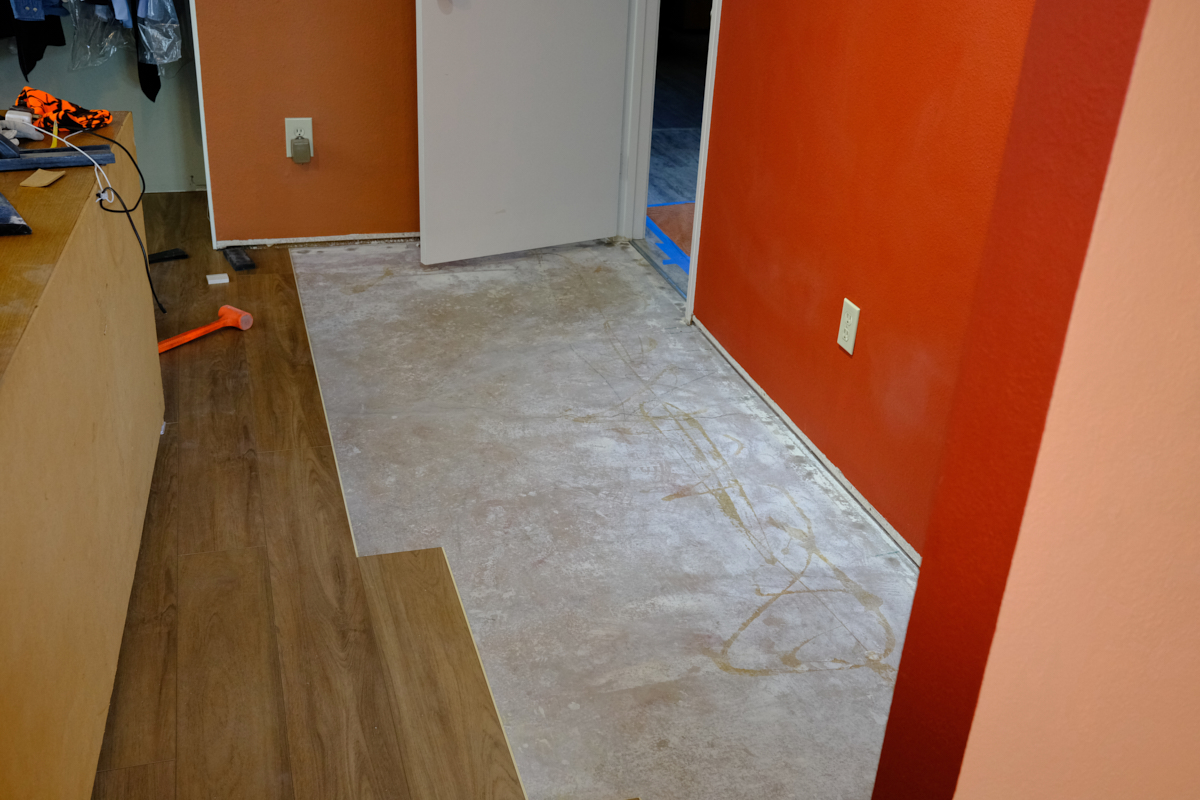
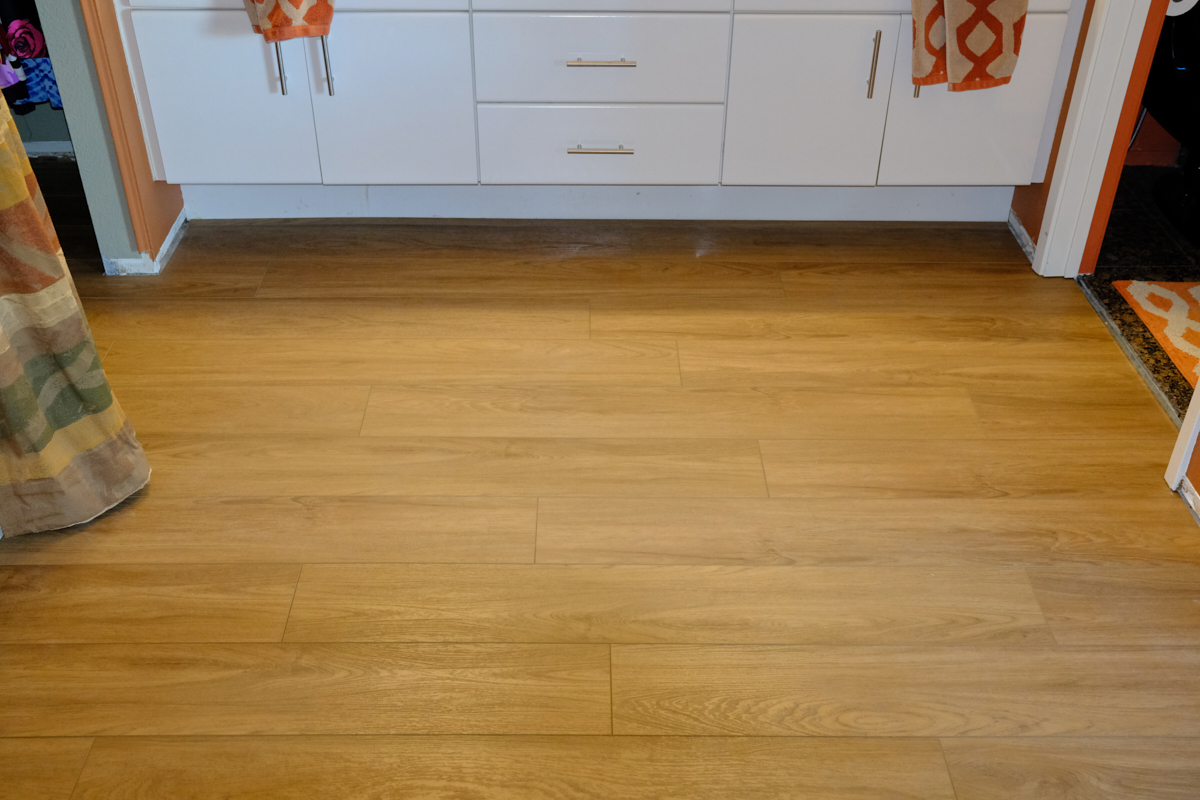
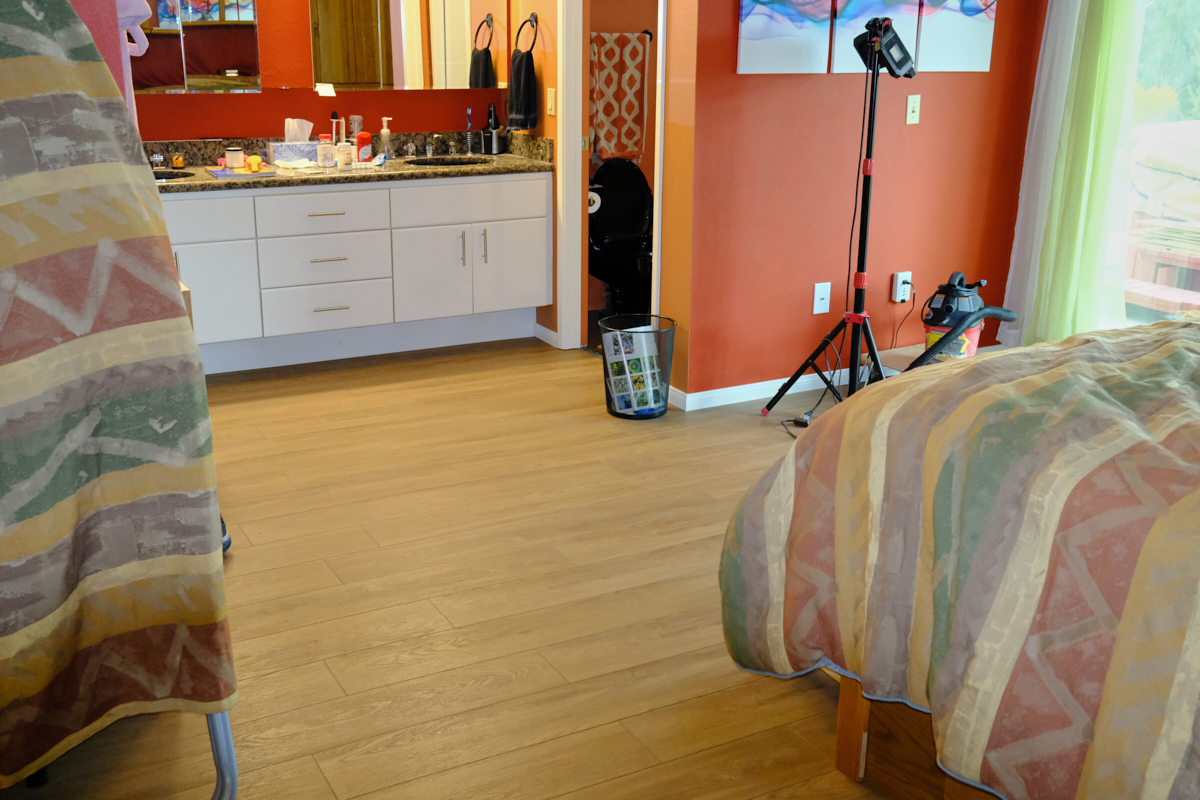
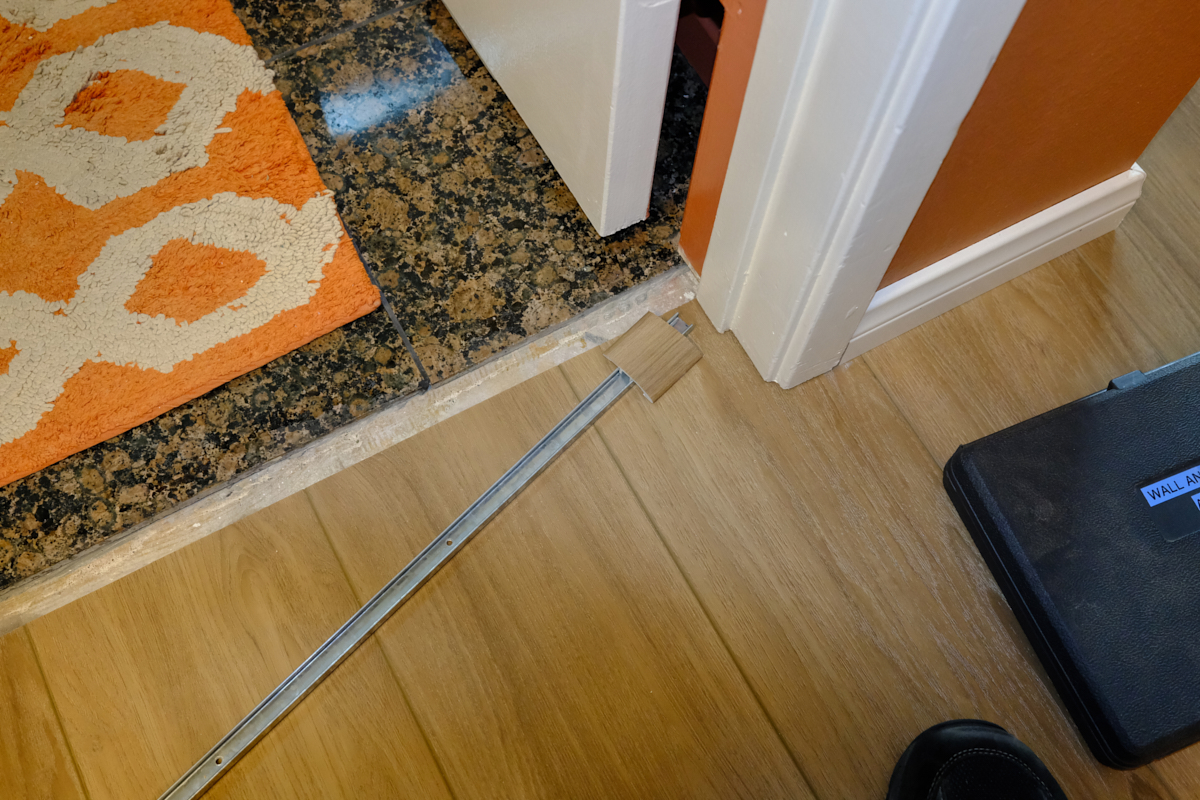
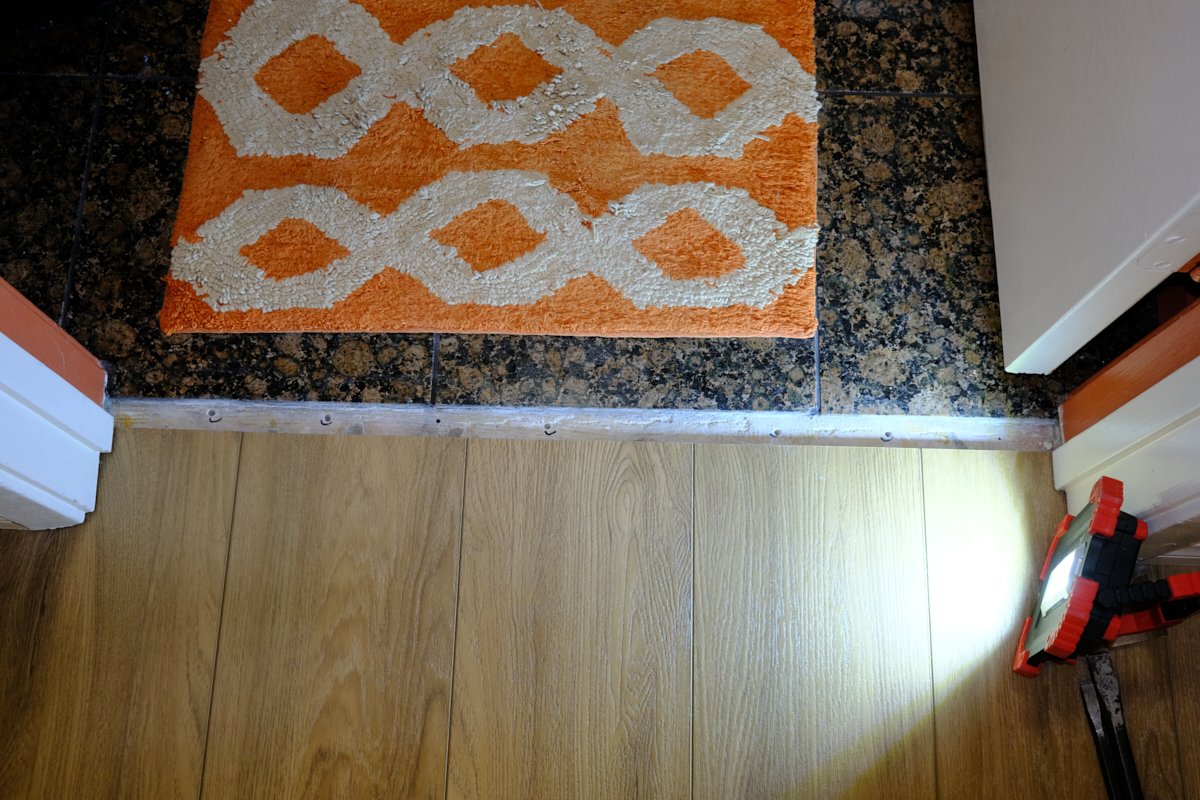
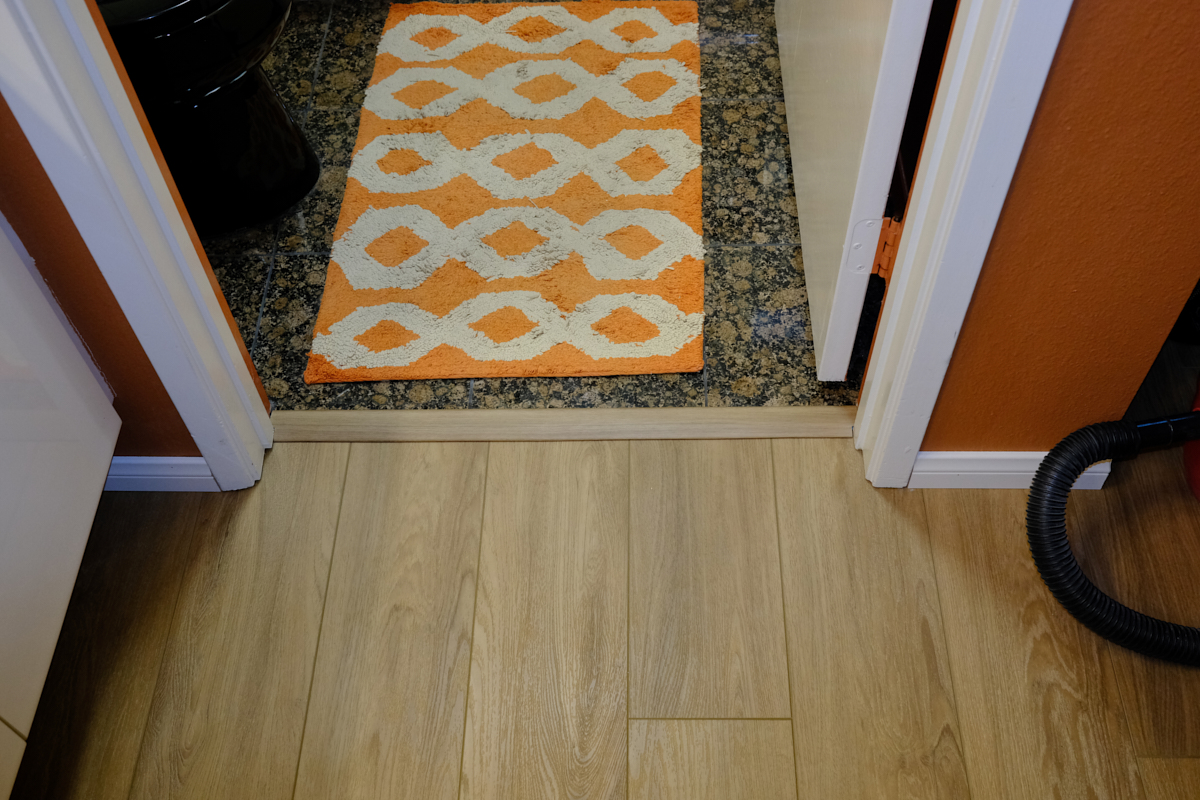
The
transition between the bedroom and sink area was removed.
The carpet was marked, cut and removed to outside.
The
carpet in Kathleen's (converted hallway) closet was removed
followed by the contents of the closet.
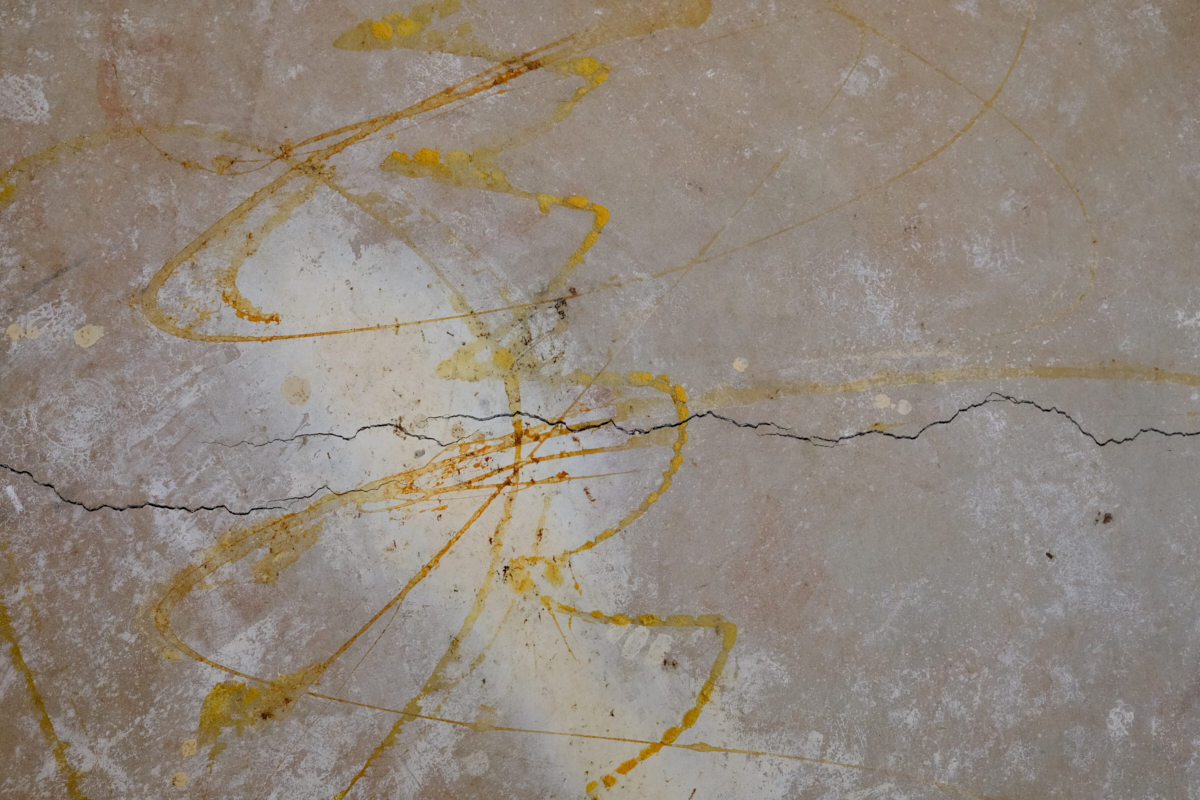
Carpet
tack strips were pulled creating huge craters in the concrete
slap and plenty of debris.
Next,
the contents of Kathleen's other closet (yes, there is a trend
here....) were removed and and the wood flooring was pulled up
along with the baseboards.
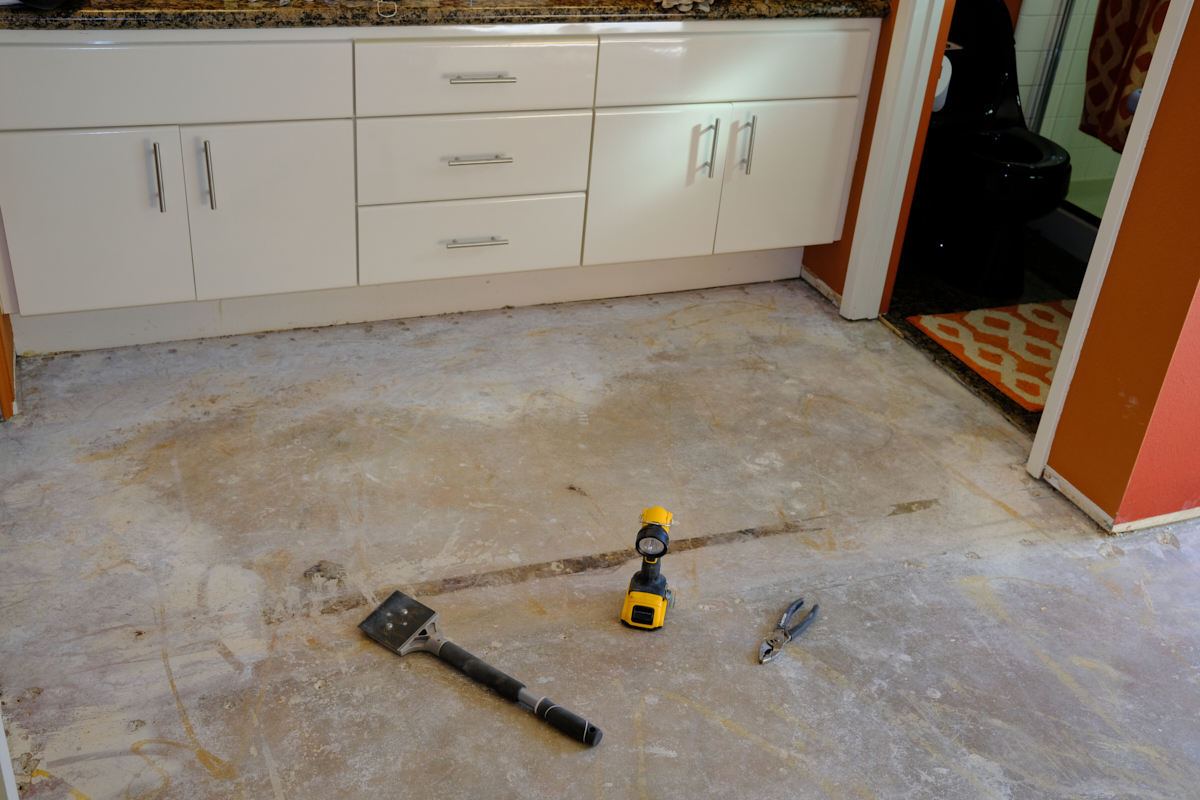
The
floor was scraped to remove glue, drywall mud and paint
splatter.
Kathleen's large
closet was scraped and the tack strip holes were filled.
Removal
of some concrete nails that held a hinge-point for long-removed
closet doors created a huge crater in the slab that required
multiple applications of concrete patch.
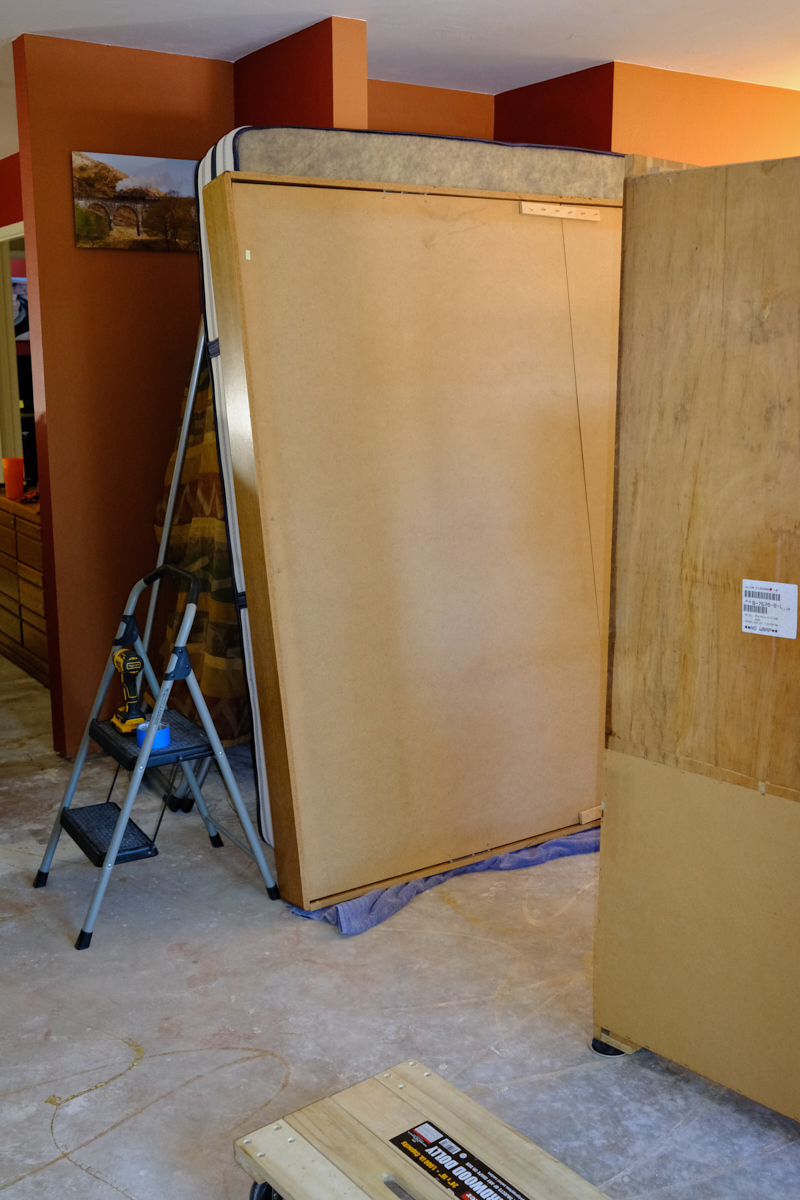
The bed
was dismantled and moved into the sink area to allow access to
the headboard and vertical chests.
The
vertical chests were put on sliders and moved to the sink area
to allow access to the two parts of the headboard. The
mirrored section is separate from the base which is a good thing
because it was very awkward and heavy.
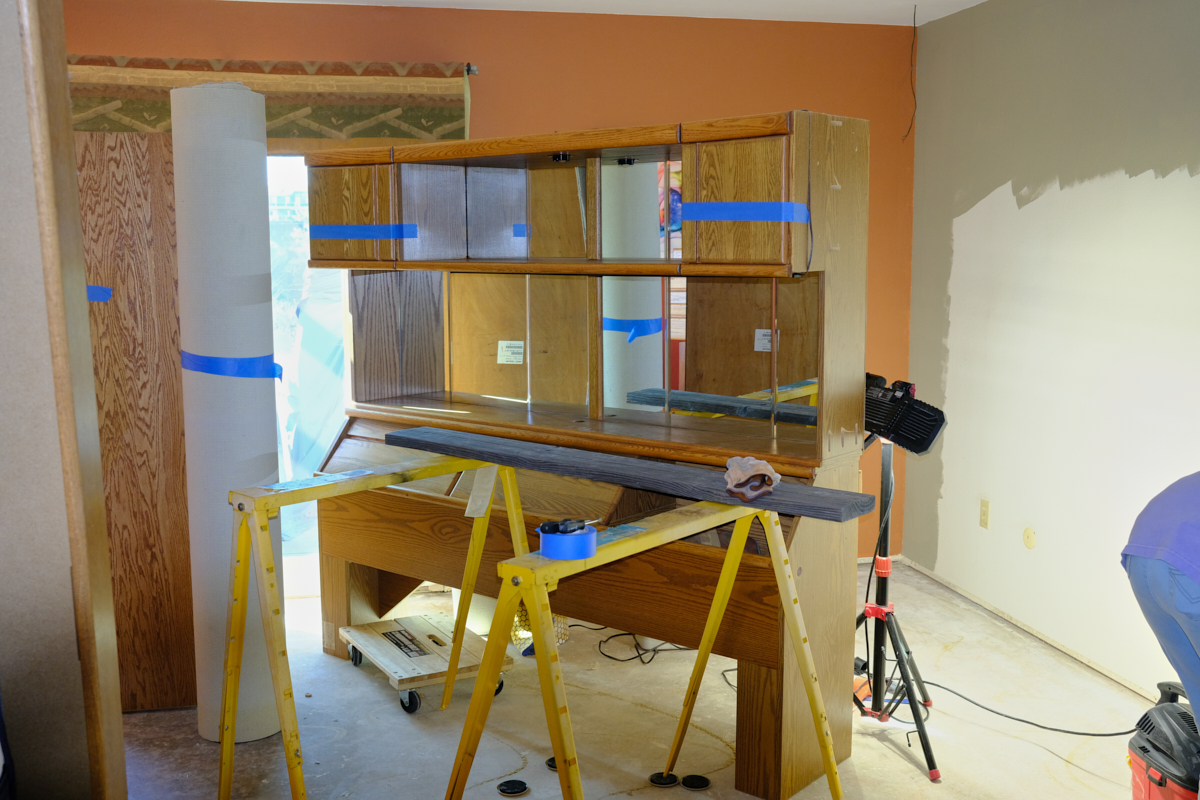
The
upper portion of the headboard was sufficiently heavy that we
concluded that we could not move it without risking
injury. So, we built a holding area at the same height
that would allow sliding the item without having to bear its
weight. A 2"x8" plank was cut and then screwed to the metal
saw horses to create a landing zone. Two separate movements
were required to get the assembly away from the wall enough to
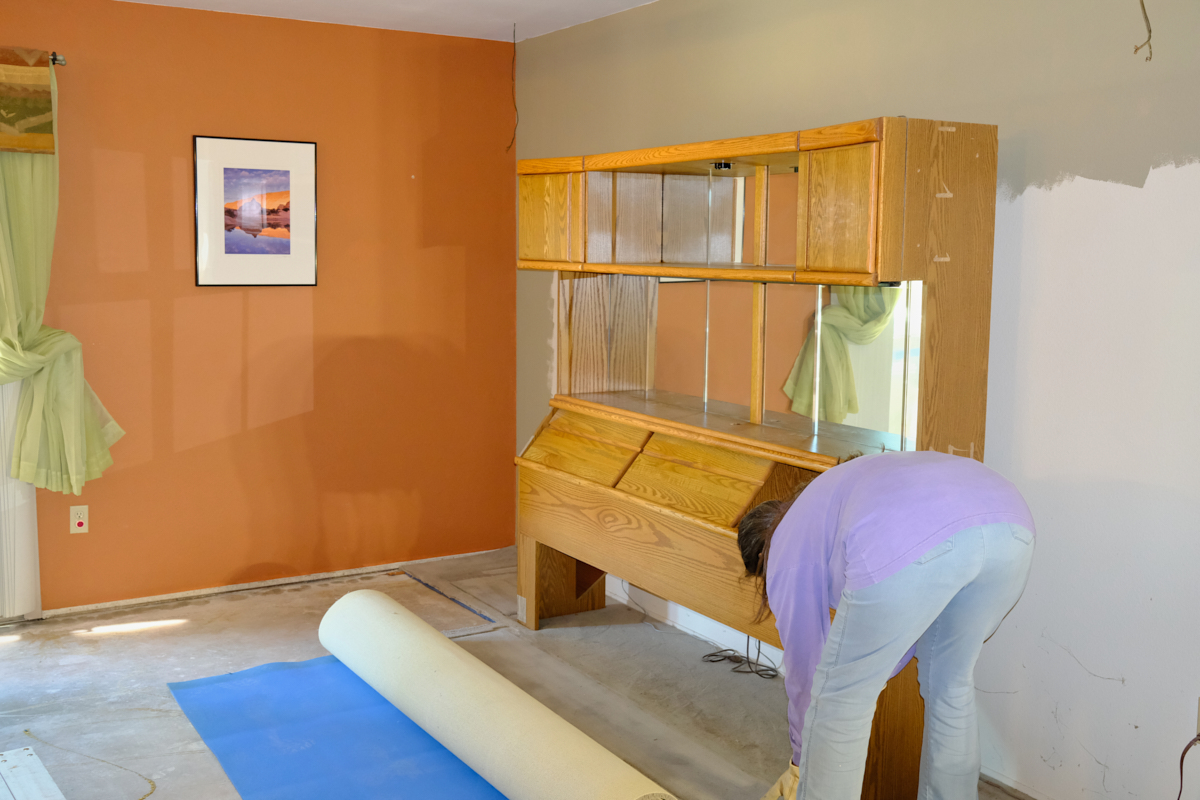
allow further actions. Also, note that when the last
painting was done, the furniture was not moved resulting in a
large unpainted area on the wall. Baseboards and tack
strips were removed prior to painting.
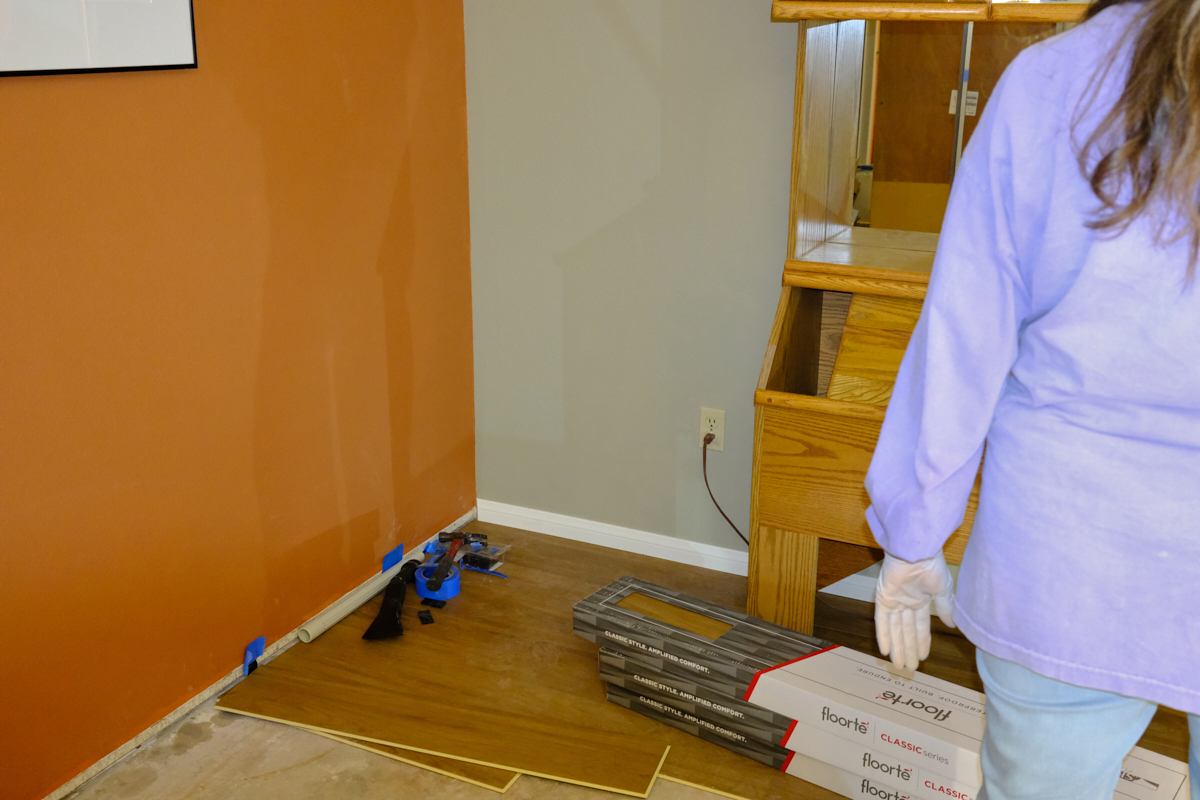
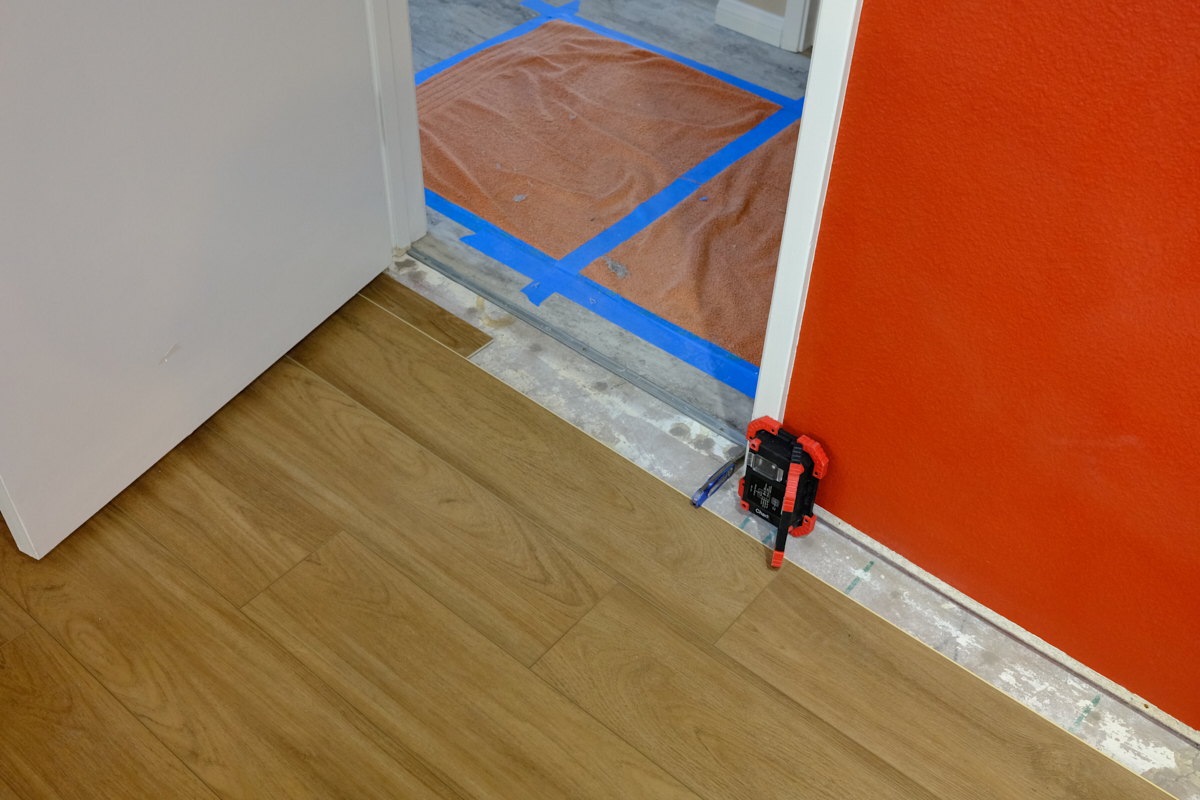
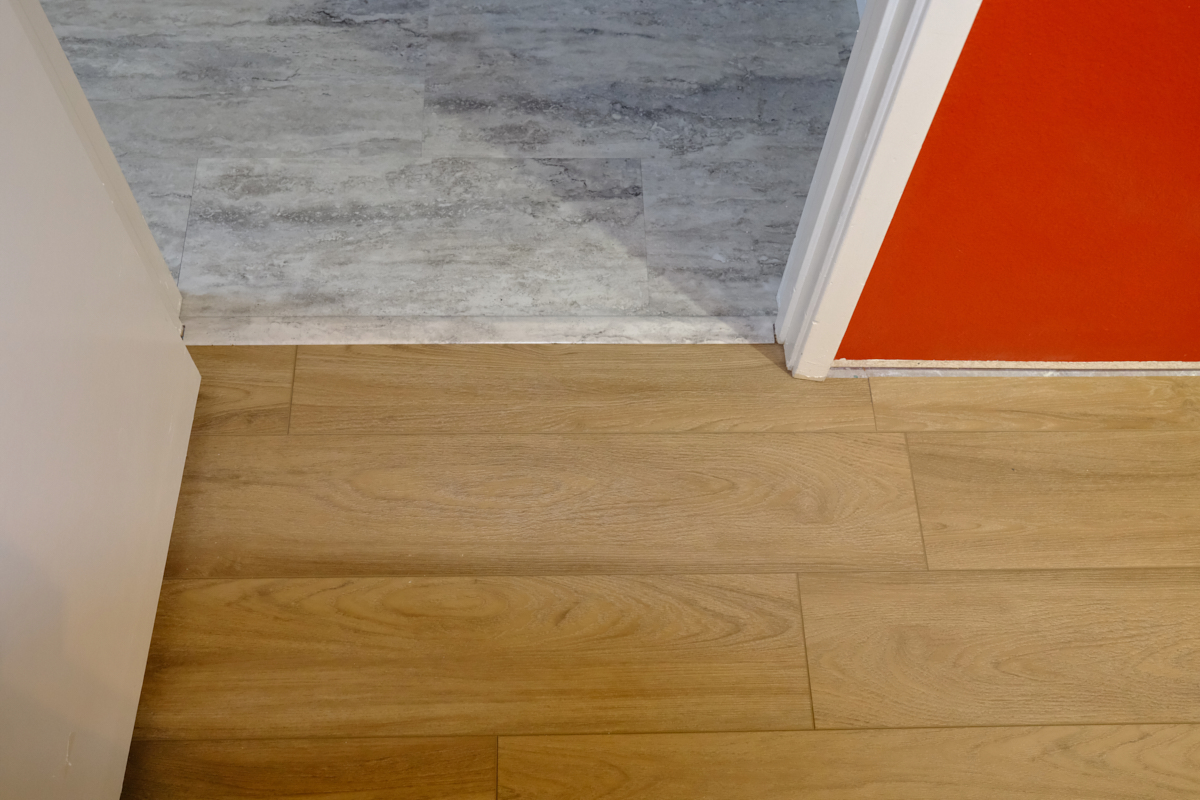
The raw
wall was painted and then we could actually start laying
tile. To insure a straight line installation, we did a chalk
line across the entire room and used that line as the reference
for the tile. Once 5 or 6 courses of tile were laid, we
moved both parts of the headboard assembly back into its
location.
| Previous Adventure | ||
| Trip Home Page |
Photos and Text Copyright Bill Caid 2021, all rights
reserved.
For your enjoyment only, not for commercial use.