
The photos below are what we
saw.

The cutting of the cover
plate for the hatch was completed.

Next the mounting studs for
the actual a/c unit were added. The large holes in the
plate are to accommodate the hatch locks.

Rob elected to braze the
edges both to protect from warping and due to the thin metal
thickness.

The completed brazing job
took about an hour and when it was done the heat of the torch
fried the paint close to the joint. Above, the hatch
before it was cleaned up for new paint and primer.

When the hatch was completed
and painted, we moved on to completing the mounting for
the compressor. Rob took a 1"x1" length of square tube and
welded on a 3/8" ear for the tightening bolt.

Two small tits were welded
onto the front and back of the hatch to cover the latch
mechanisms. The whole hatch was smoothed out with some
body filler, sanded, primed and painted.

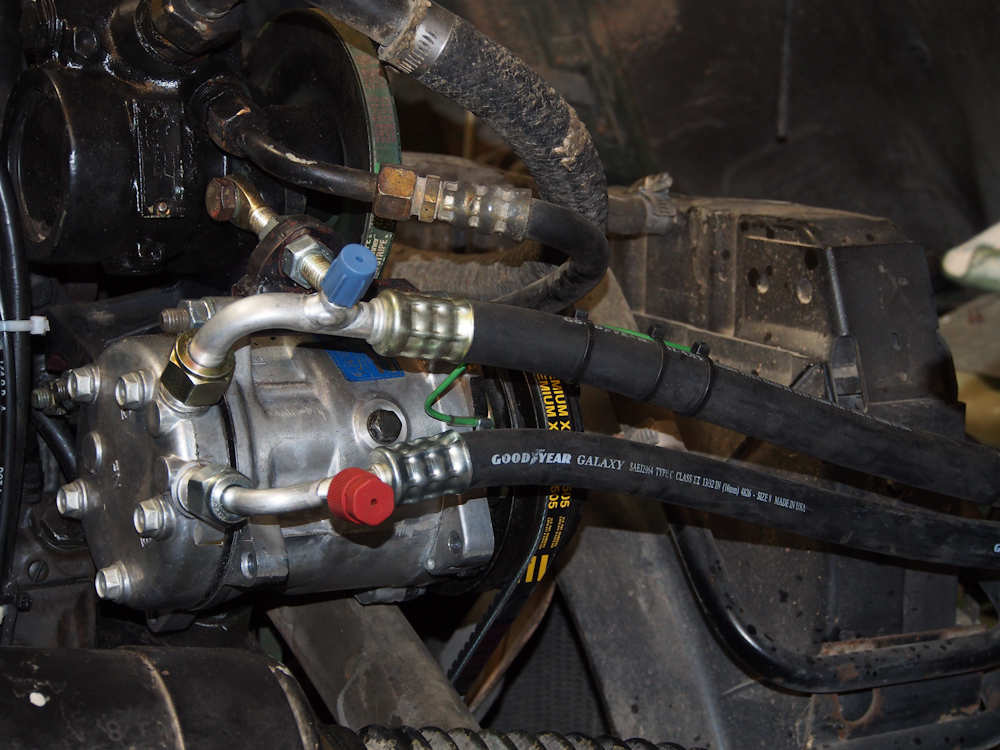
The compressor is now fully
installed with the compressor end of the hoses attached..

The hoses were routed under
the cab and up the back wall.

The hoses were draped over
the cab as the required lengths were determined for each hose.

The hatch was test-fit to
the a/c unit prior to fully bolting the hatch to the unit.

The hoses were routed along
side of the cargo bubble on Thor's cab. Nutserts were
installed through the sheet metal of the cab to allow use of
bolts.

Nuts and lock washers were
added to the studs to attach the roof unit to the hatch.

We added the control panel
to see what it would look like when it is installed.

We examined the insides of
the roof unit to determine what needed to be done to rotate the
hose fittings to the correct angle for the compressor lines.

The roof unit was picked up
with the fork lift.

The fork lift made easy work
of lifting the 100+ pound unit to the roof.

The unit was placed right on
the hatch opening.
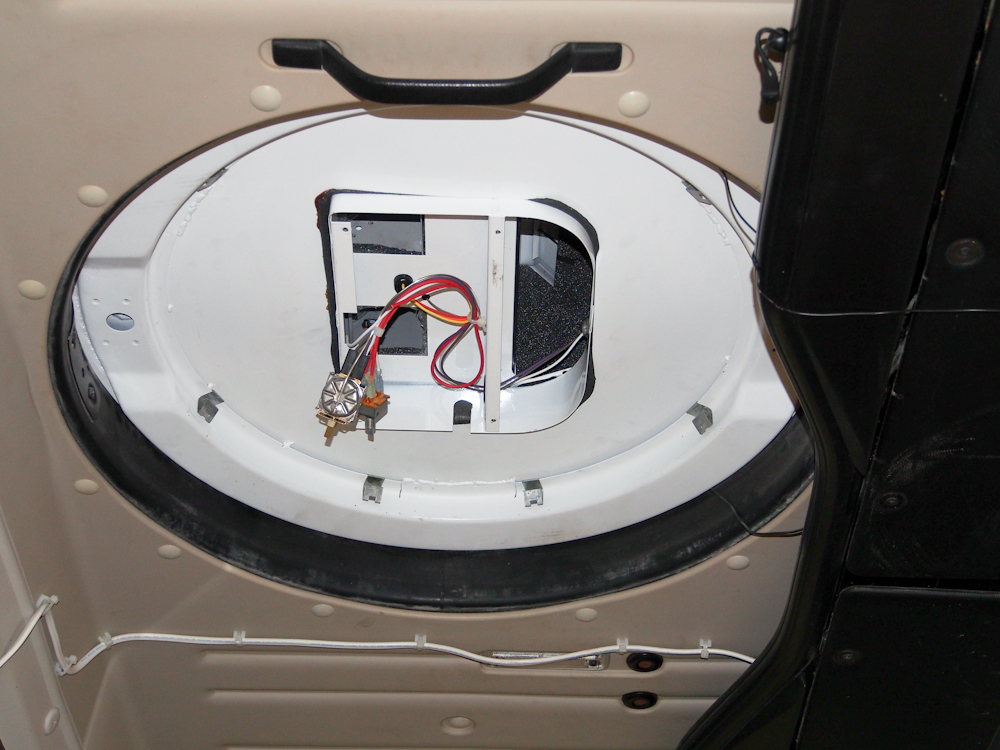
From the inside, things look
good. The photo above shows the hatch before the control
cover and modesty panel were installed.
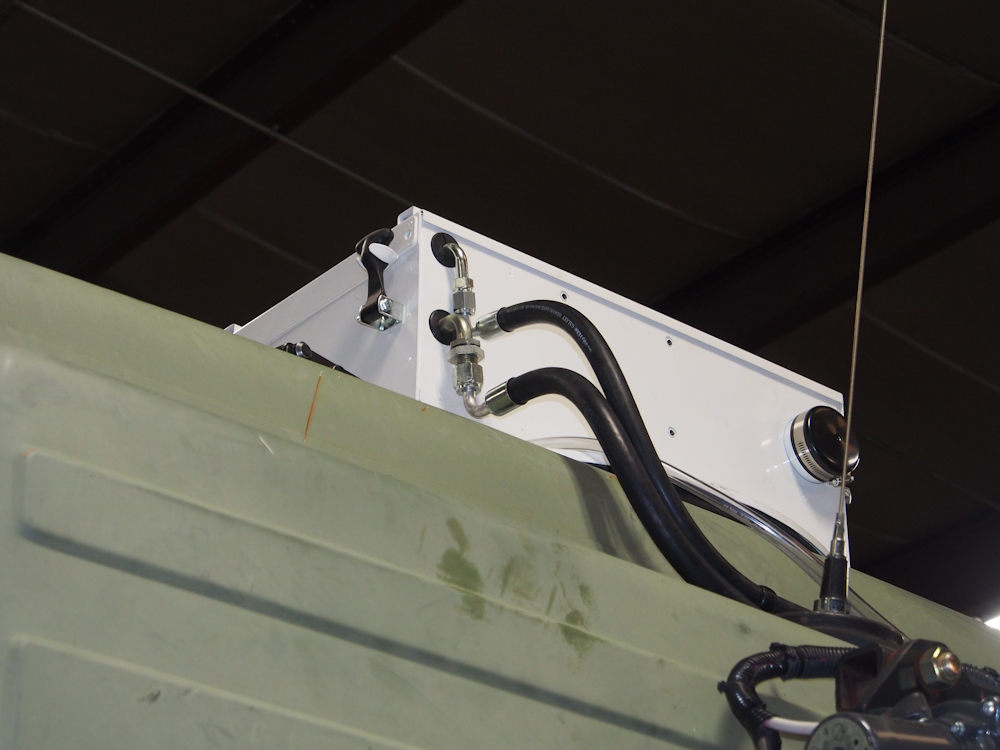
The hose ends were crimped
on and the fittings adjusted to the correct geometry.
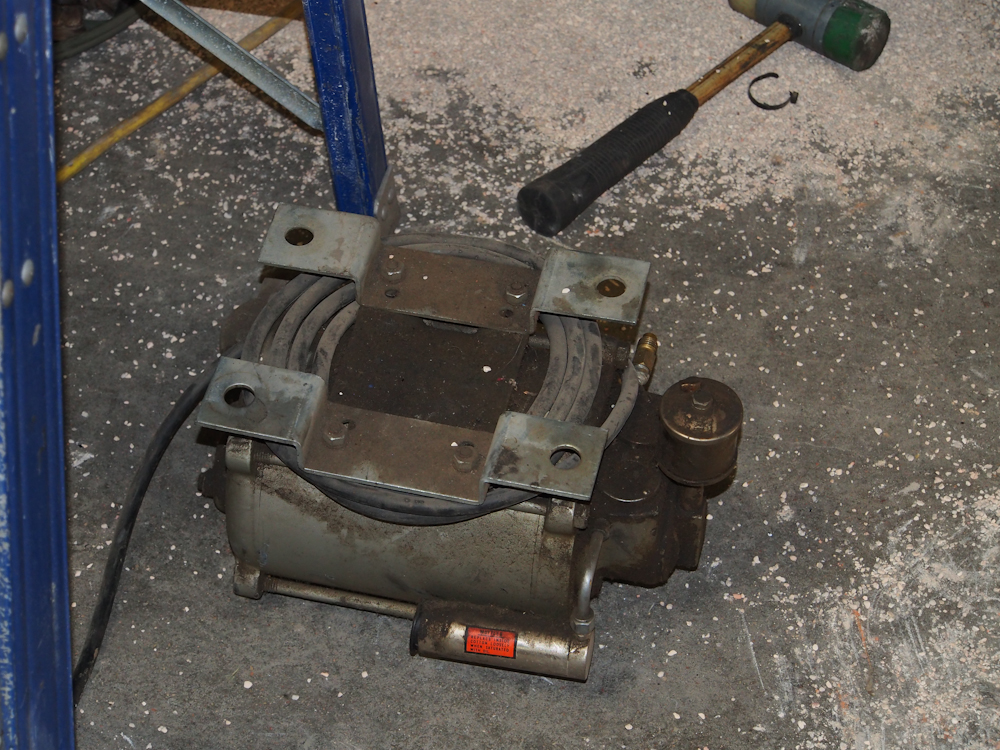
Rob got his vacuum pump out
to evacuate the air from the compressor system and check for
leaks. No leaks were found.
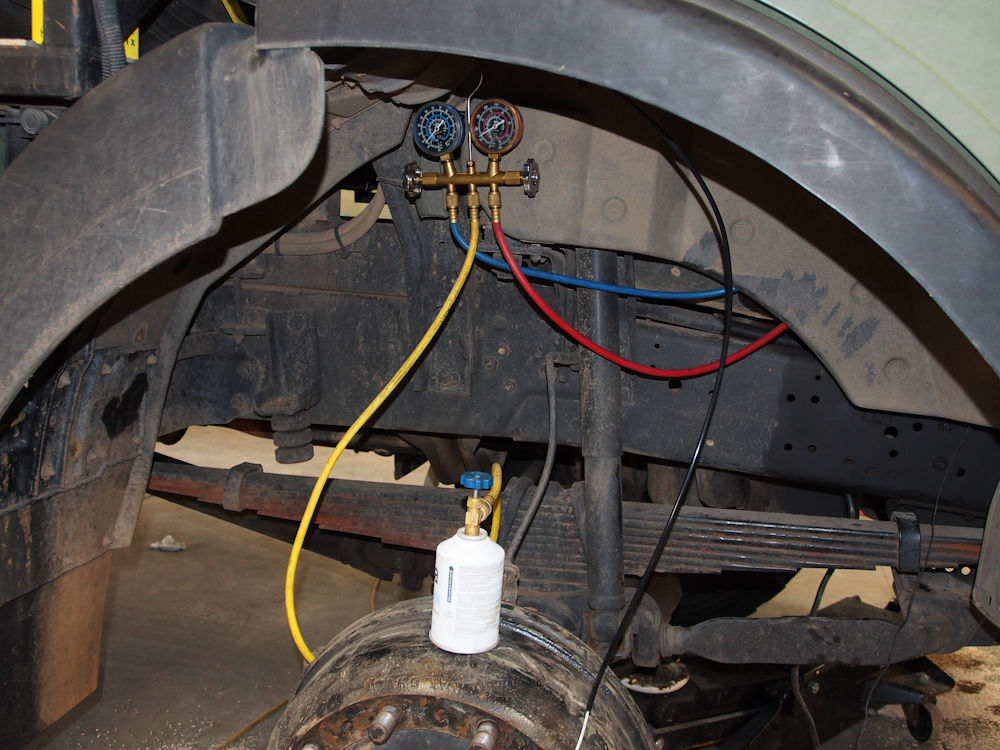
Due to the size of the
system and the length of hose, many bottles of refrigerant were
added.
Once the system was fully
charged and checked for correct output temperature, the control
wiring harness was installed and cinched up with tie-wraps.
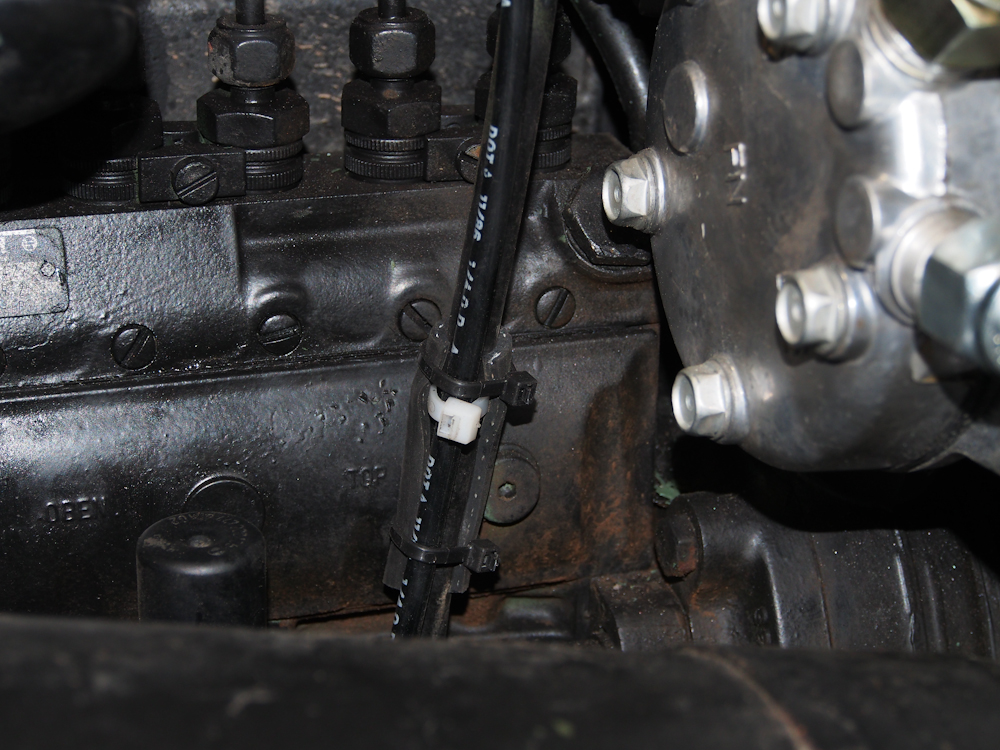
Several fuel delivery lines
had to be moved as part of the installation and some were in
danger of abrasion damage due to the vibration of the
engine. So, rubber hose was strategically placed to
prevent damage. An ounce of prevention is worth a pound of
cure, or so they say. I am guessing in the metric world
they would say "a gram of prevention is worth a kilogram of
cure".
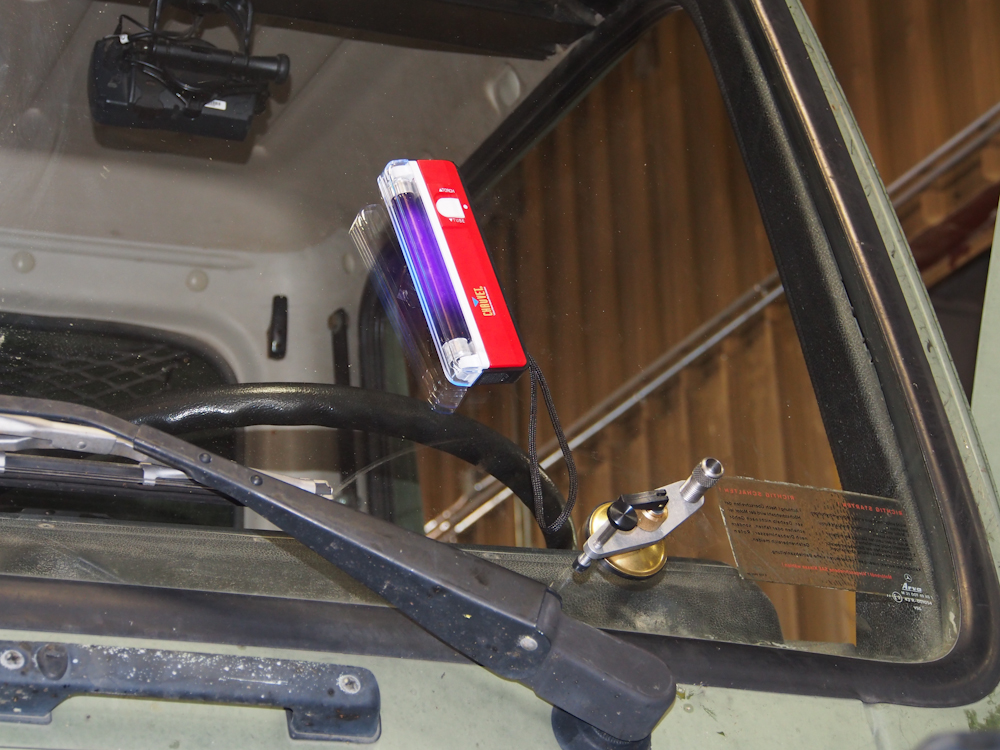
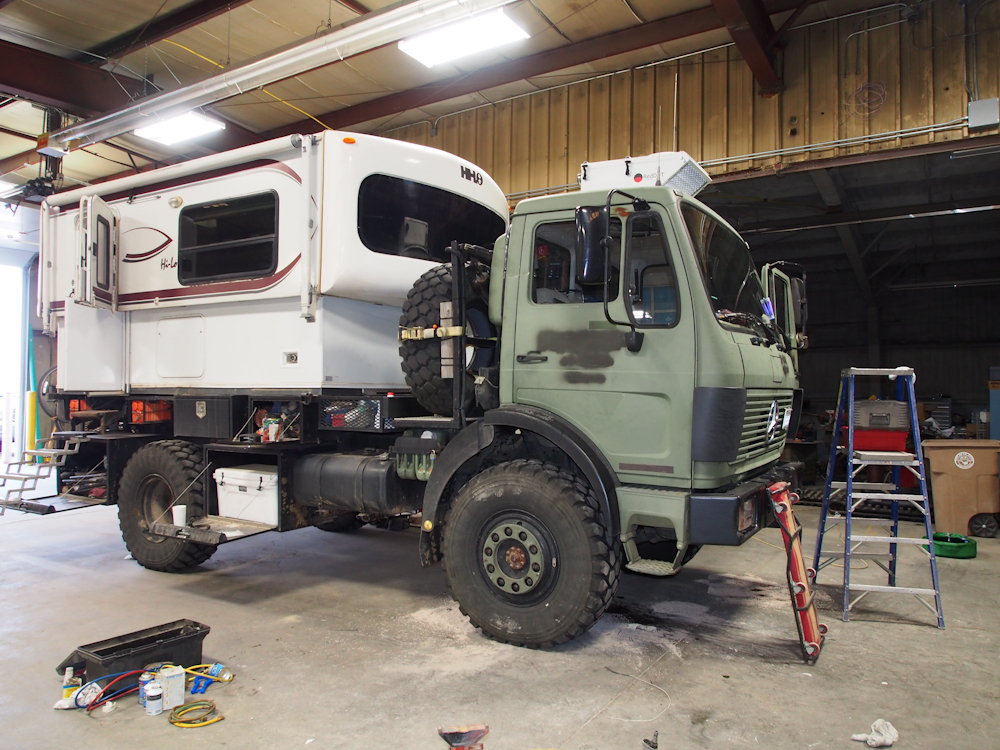
Thor was locked down and all
the cab electrical connections were re-installed. The oil
and filter were changed and the front differential oil was
flushed and refilled.
| Previous Adventure | ||
Photos and Text
Copyright Bill Caid 2012, all rights reserved.
For your enjoyment only, not for commercial use.