After we arrived back home from MogFest we were assaulted by an infinity of home chores. After we had most of the ugly chores under control, we turned our attention to enhancement of the 1017. I had a plan to mount a set of tool boxes under the camper body and spent several days researching vendors that could meet my requirements. Ordering the boxes turned out to be a chore that required a physical visit to a local store that actually sold that brand of box. Upon placing the order, I was told that I could expect delivery sometime around the end of the year (it was October when the order was placed). There were a number of "excuses" for the extended delivery, the biggest being the slow economy causing increased manufacturing cycle times. But whatever the actual cause, I would not see those boxes for months, so we turned our attention to other tasks on the truck (of which there were no shortage of tasks).
I ordered hydraulic
parts for our tire crane and they took a week to be delivered.
Along the way, the vendor muffed the order adding to the delivery
time. Plus, when the parts arrived there were some "undocumented
features" of the components requiring the purchase of some adapter
fittings. The number of total actions was daunting, so we decided
to focus on preparation for the arrival of the tool boxes and
fabrication of some cargo baskets.
The photos below are what we saw.
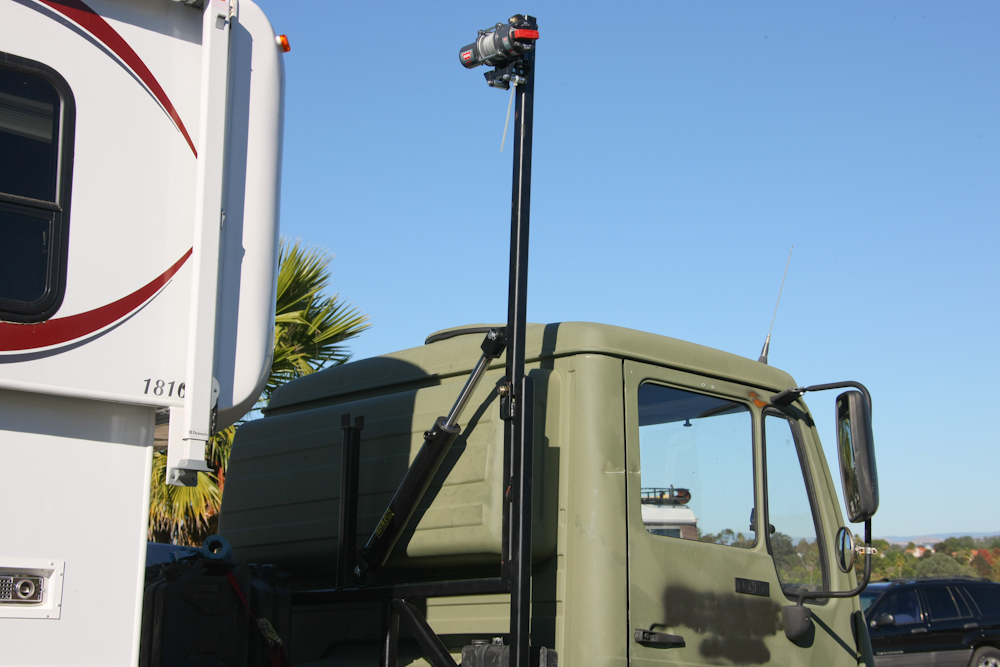
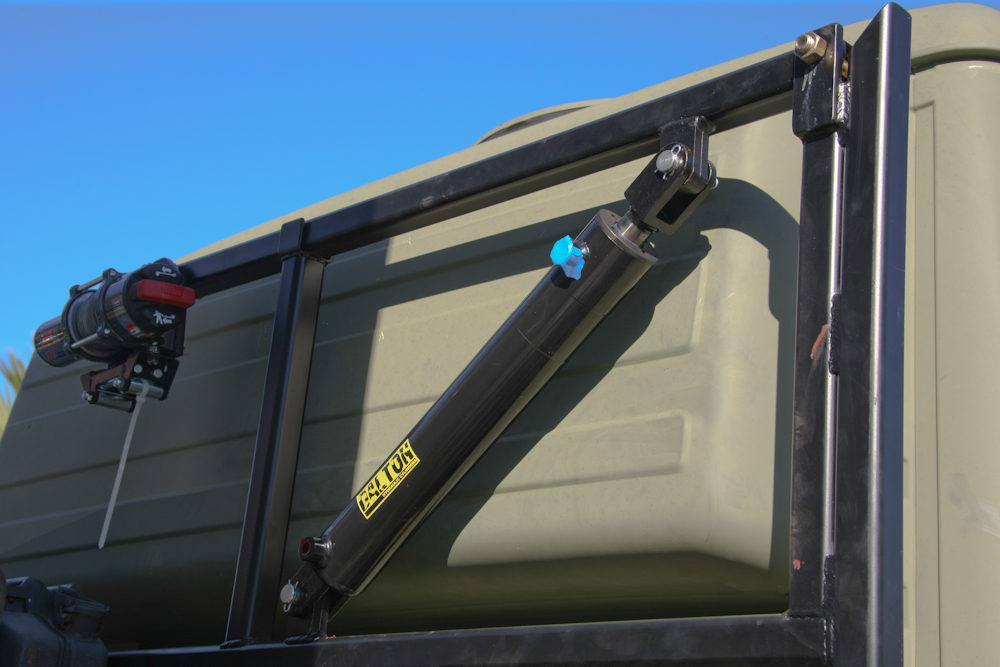
After several weeks, my hydraulic piston and pump arrived. Sadly, the control unit was not included in the order requiring an additional week of delay. But, I mounted the piston to check our fabrication geometry. It was right on the money. To test articulation, I maneuvered the boom into the vertical position. I did not dare push it over center as the boom-winch combination is quite heavy and without the pump in the circuit, I would likely not be able to retract it. So, I had to be content with a vertical only test. That said, I am convinced it will work the way I intended it to work. For the record, the boom extends another 45 degrees from the vertical to provide clearance for lifting the spare tire.
In the retracted
position, the boom rests on a saddle to prevent the boom from swinging
into the cargo bubble on the cab. I had to order the hydraulic
lines after the cylinder arrived to insure that the lines would be
compatible with the fittings on the cylinder. I had already been
burned once by parts not matching the "specifications" and since we
were not on a hard schedule for construction, I elected for safe rather
than sorry.

I had fabricated a
mounting trough for the scissor steps when we were in La Junta. I
predicated the design upon the stairs that I currently use on my
1300/Alaskan unit. I ordered another set of these steps and the
worked as planned. The top 2 steps are part of the original
trailer body and retract into the frame of the trailer. When in
La Junta, I fabricated a mount for the step for storage that stores the
steps between the frame rails of the camper body.
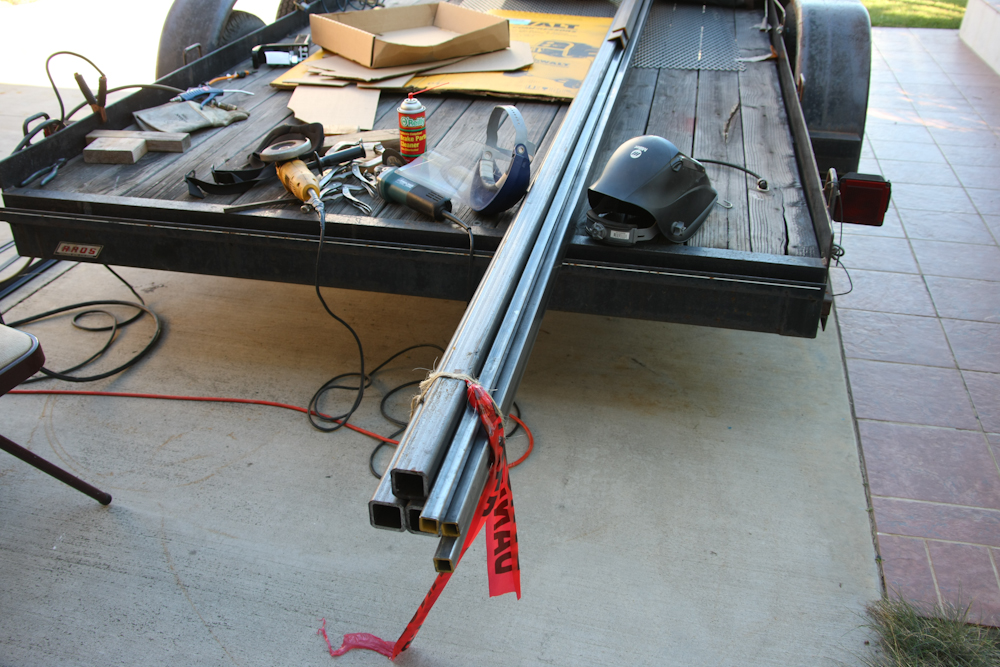
The fabrication effort
required a trip to the steel store and we came back with a ton of
stuff, almost literally. We got angle in several sizes, square
tube in several sizes, expanded sheet, strip and a bunch of supplies
like grinding pads, welding gas, a new air compressor and another angle
grinder.
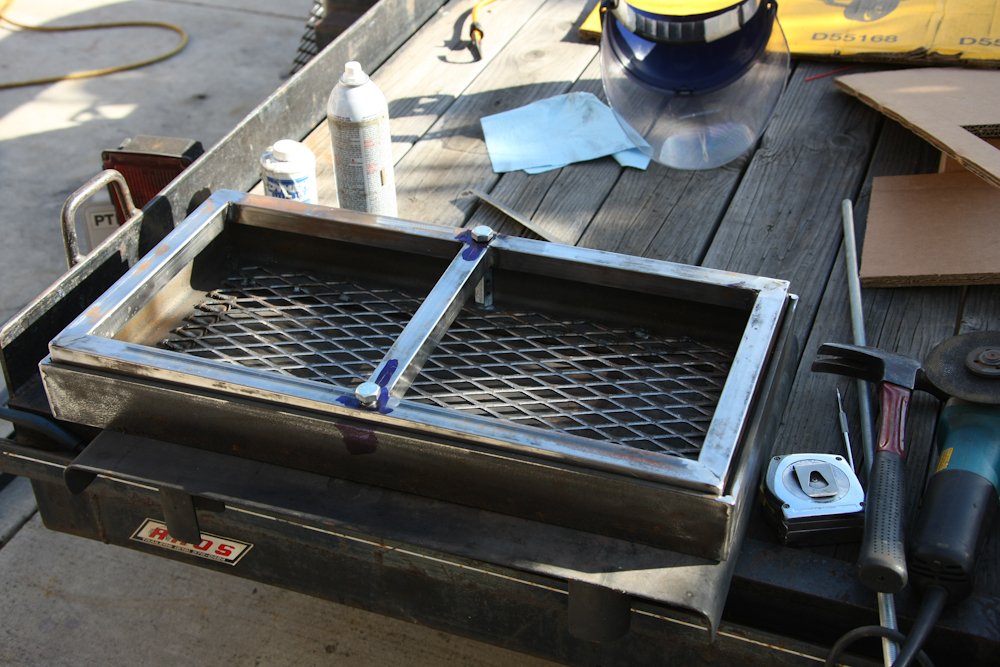
The first task was
completion of the propane rack. I had started this effort in La
Junta but was forced to put it on the back burner due to other
priorities. The rack consists of a base and a retaining
collar. The collar is the square tube, the base is the
angle/expanded metal portion.
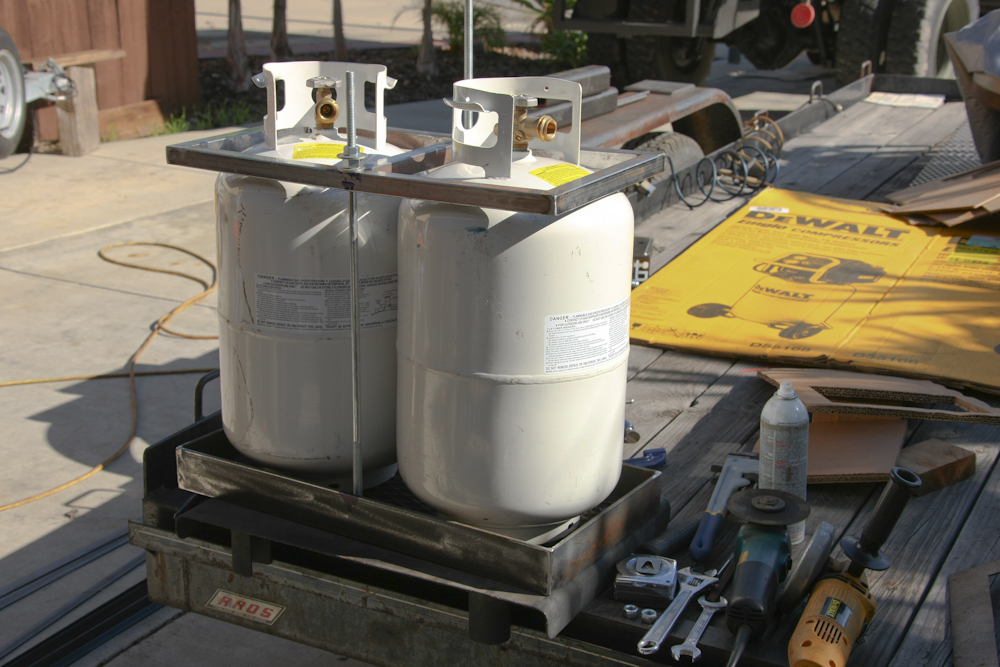
The bottles sit on the
base and the collar is attached via a pair of threaded rods that hold
the collar in tension. This setup is robust and will work for
both 20# and 30# (shown) tanks. The 30# tanks came with the
trailer (and they were full with several hundred dollars worth of
propane) so I decided to make use of them. The base will be
attached to a fixture that connects to the frame rails on the 1017 (yet
to be fabricated).
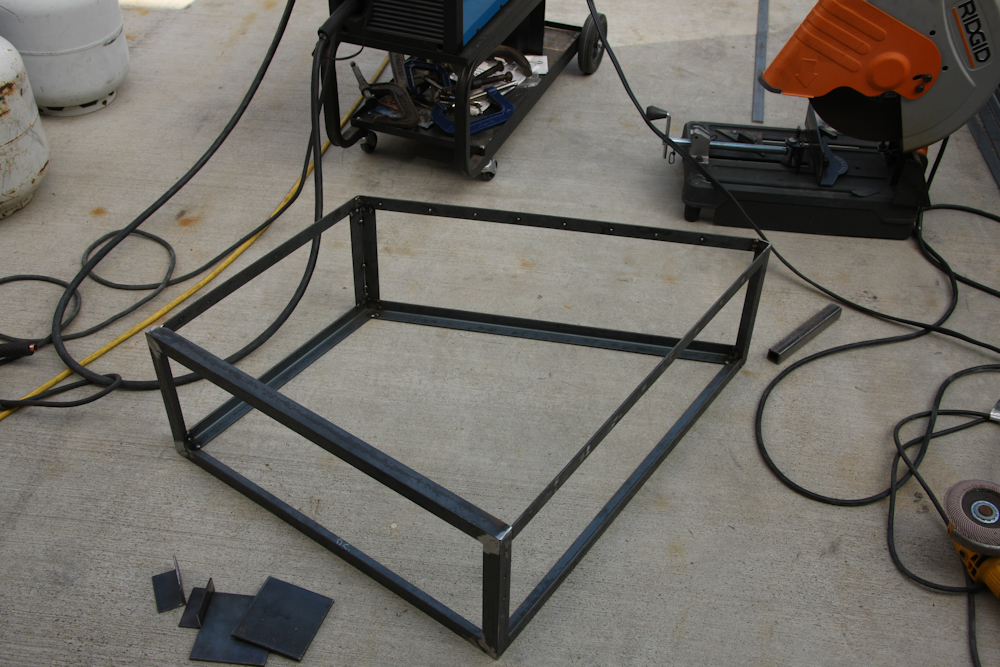
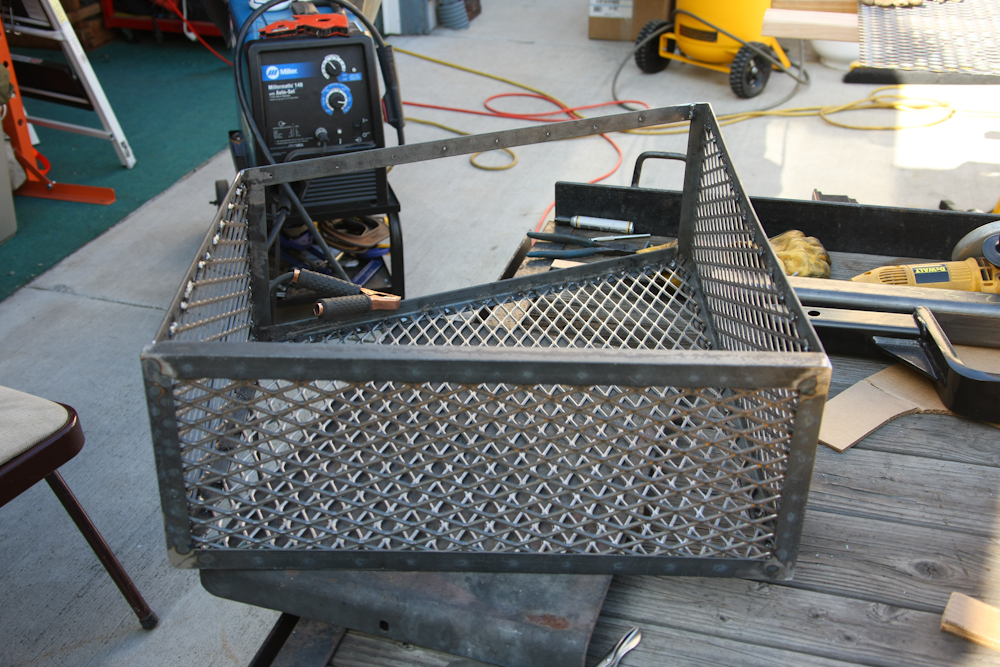
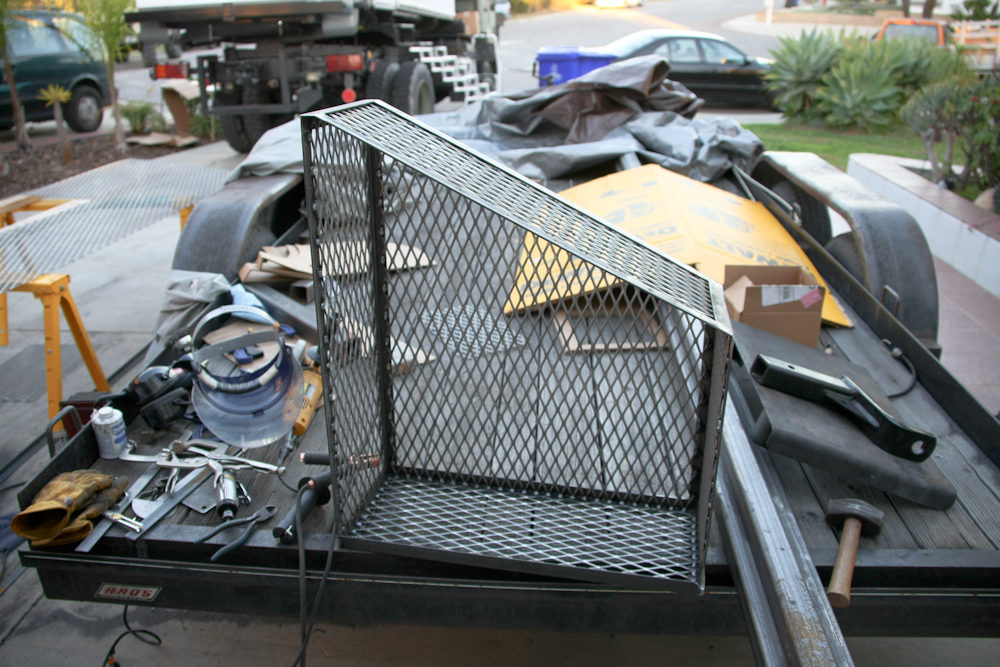
Next up in the queue were
the front cargo baskets. When the trailer was mounted on the
1017, the geometry of the tongue of the trailer was such that it
resulted in an irregular shaped area that would be wasted unless some
custom box was designed. I envisioned using this space as "dirty
storage" for things like tire chains, tow straps, oil, fire wood and
general junk that did not need to be weather-protected. The frame
was made out of 1" angle and strap configured to match the irregular
geometry of the space.
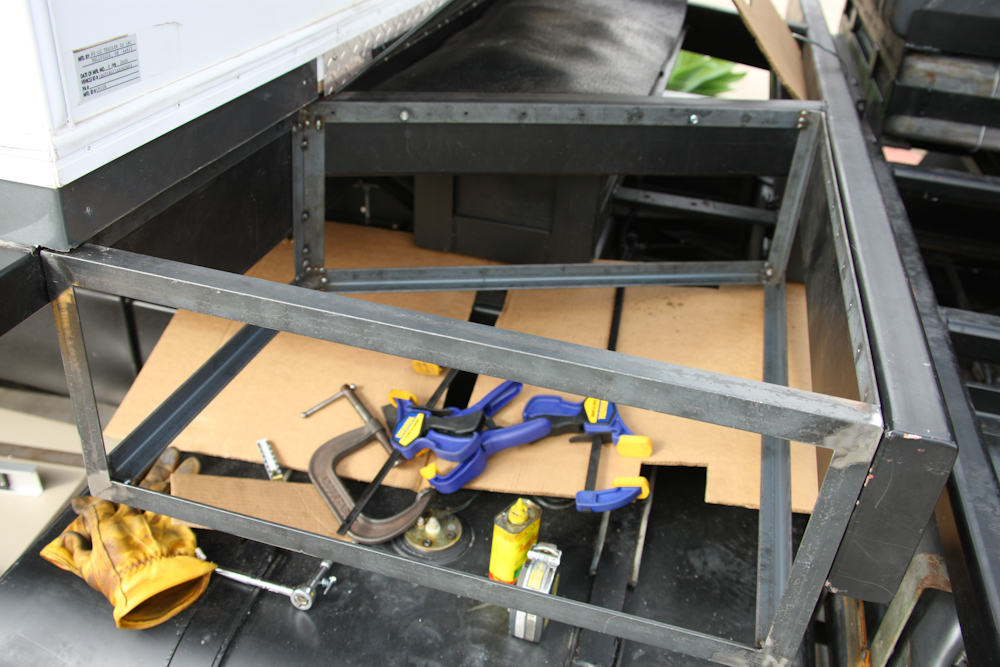
The tack-welded frame was
test installed into the space to insure that we were not making a
heinous error. It fit fine, but that was because we were super
careful about measurement and cutting.
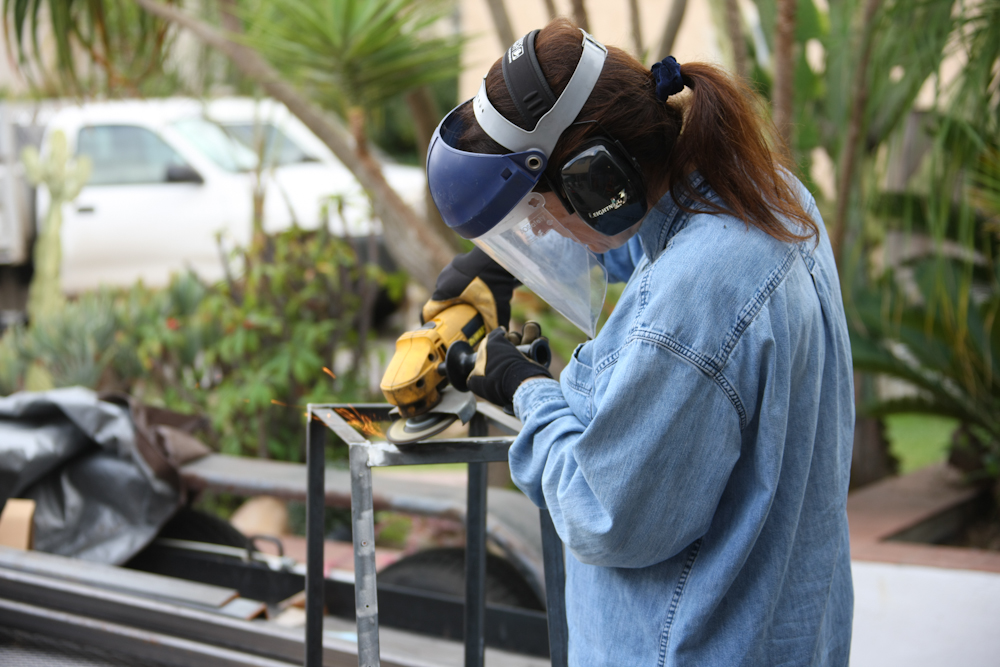
To insure a tight fit to
the camper, the frame had to have a smooth perimeter. Above,
Kathleen smooths out the rough edges of the frame for a re-test of the
fit after securing all the tack welds.
After the overall fit was
re-verified, we added the sides and the bottom.
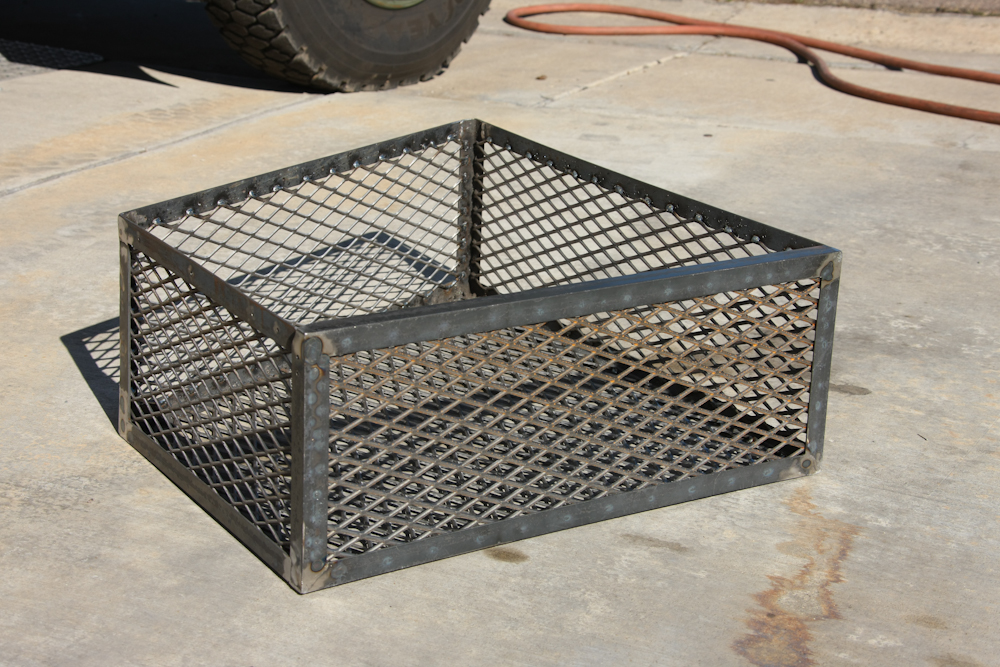
The finished product for
the passenger side. The basket is 10" deep and about 18" on the
shortest side.
Once the basket was
installed, you can see how the odd geometry made life complex.
The roof of the camper lowers and nothing can extend past the upper
surface of the large beam in the foreground of the photo above.
The basket was removed, cleaned, primed and painted.
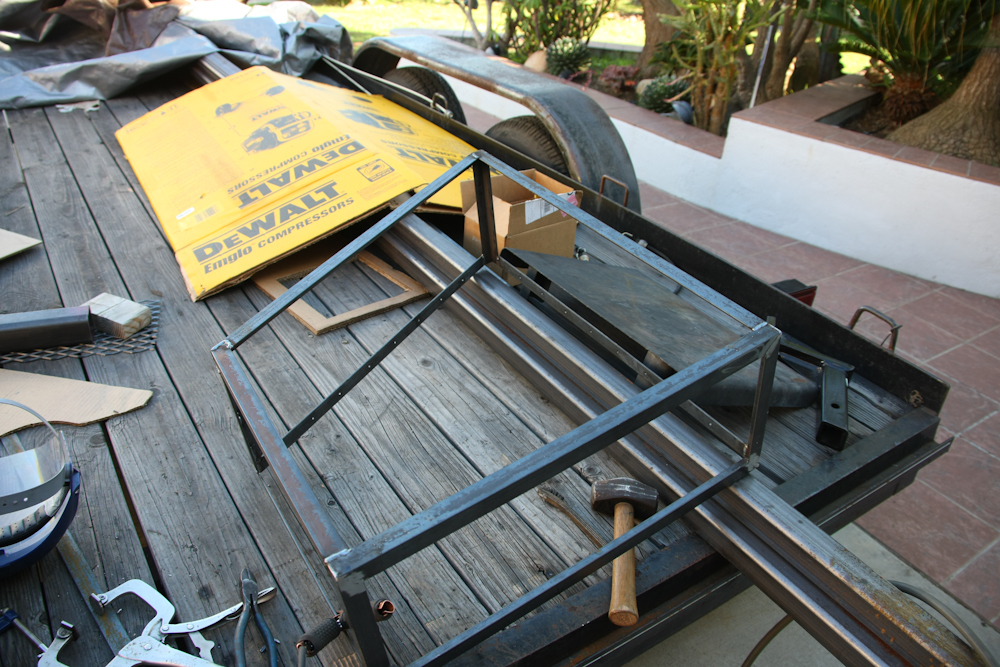
Driver's side basket
frame completed, but not yet fully ground to fit.
The driver's side basket
completed awaiting the final test installation.
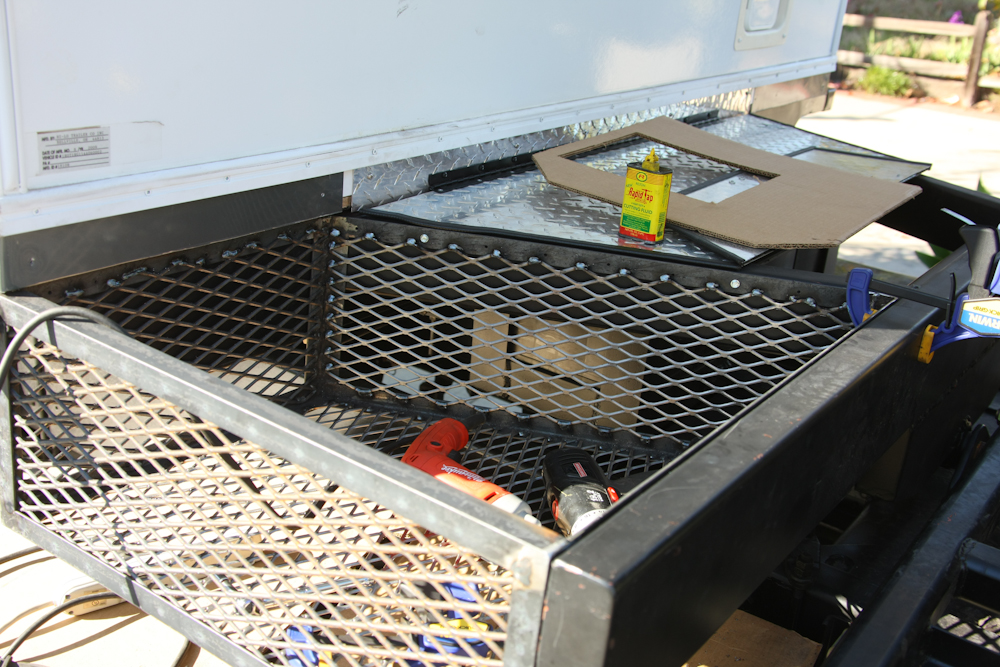
This portion of the fabrication task was quite complex and very time consuming. The irregular geometry of the available space made the task challenging, but we prevailed in the end. Both sides are square and tight in the available mounting space. Once the painting of the baskets is complete, they will be installed in the frame "for good". But prior to that installation, the hydraulic pump for the tire crane must be installed and filled with fluid and the hydraulic plumbing must be run. Finally, the high current electrical connections for the crane pump and crane winch much be installed before the basket task is complete.
Up next, hydraulics and high current
electrical for the tire crane. Then, on to the "big iron" for the
large tool box mounts and propane mount.
| Previous Adventure | ||
| Trip Home Page |
Photos
and Text Copyright Bill Caid 2010, all rights reserved.
For your enjoyment only, not for commercial use.